DIY Dog Stairs To Heaven, or Your Bed
I've got a small dog with a leg length of about 5 inches and a bed that's ~30 inches high. Getting on the bed requires manual labor, and getting off the bed is a recipe for disaster. My solution is some custom doggy stairs.
Parts List
- 2 X 6 foot x 8 inch x 1 inch
- 1 X 4 foot x 4 foot x 1/4 inch plywood
- 3 X 8 foot x 2 inch x 1 inch
- 50 X 2 inch screws
- 50 X 3/4 inch screws
Tools
- Circular saw
- Jigsaw
- Measuring tape
- Right angle
- Pencil
- A cutting table or seahorses
- A drill
- A screw sink tool
- Router and bits for rounding edges
- Electric Sander (or some sandpaper and elbow grease)
The Build
It took me about 4 hours to build this. I don't exactly have any plans, but your mileage may vary depending on the size of your dog and the height of your bed. It's 5 stairs, at 24 inches wide. There are 5.75 inches between stairs. The only measurement I took was the height of my bed and noted that the foot-board stuck out from the mattress meaning I was going to need some way to make sure to get over that so there wasn't a gap between the stairs and the mattress. Knowing that, I pretty much just started building with the plans in my head- making up a little as I went along.
The first thing I did was took a tape measure and a right angle and went to town measuring out all the wood with a pencil. It makes for quick work if you can first measure out all the wood and then just stand at the saw and take it all out quickly. I used a circular saw for the long wood and a jigsaw to cut out the stair-step sides.
I decided to screw everything together. This makes it pretty sturdy and I can also take it complete apart for storage if necessary (like under the bed). Granted, this is no trivial task.
With both sides cut, I started mounting the stair brackets to the sides. I screw upward through these into the stars themselves.
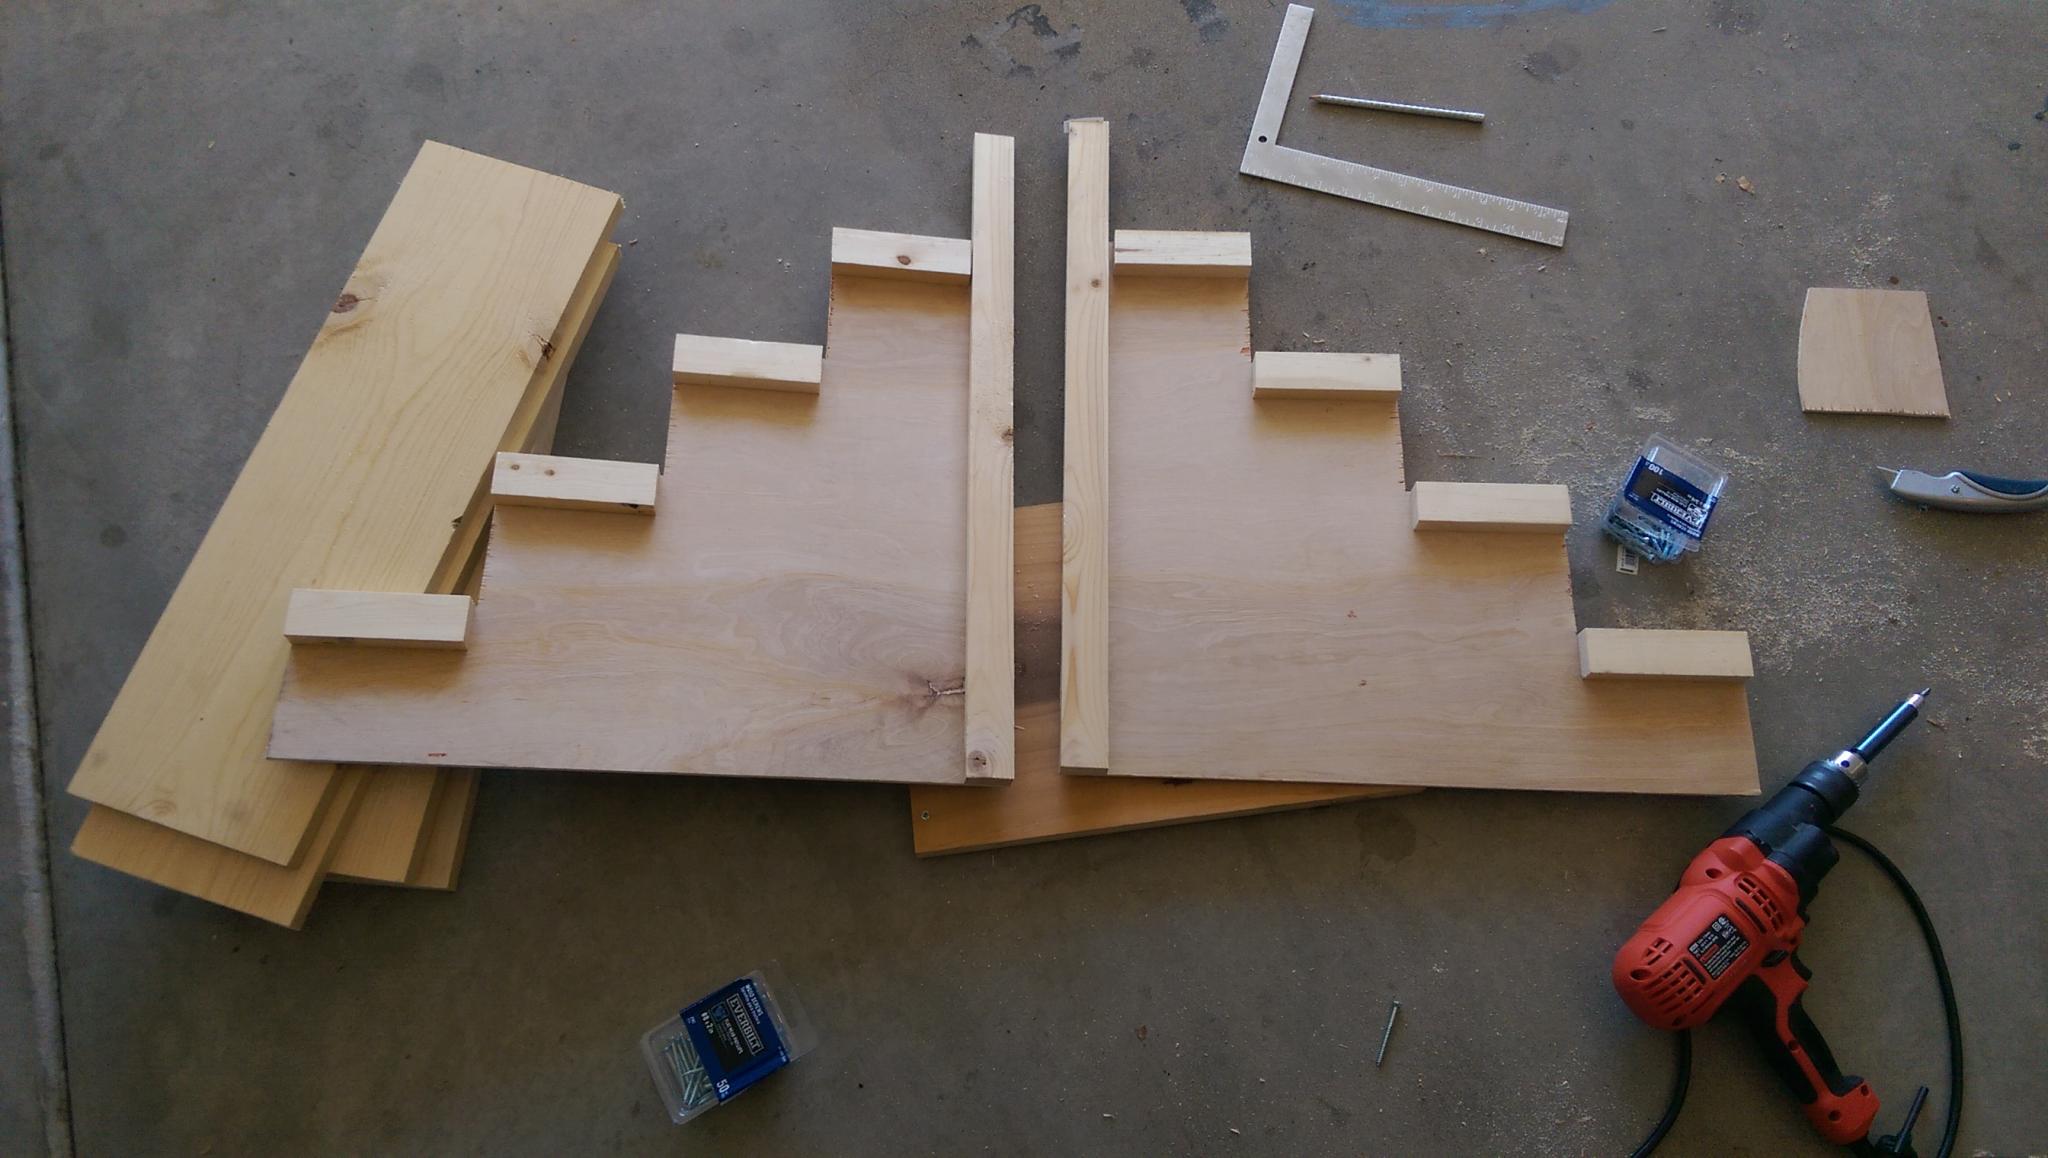
Next I cut each of the stairs and ran all of the sides except for the back through the router to round off the edges. Started assembling each of the stairs. I numbers each one and marked which side was front.
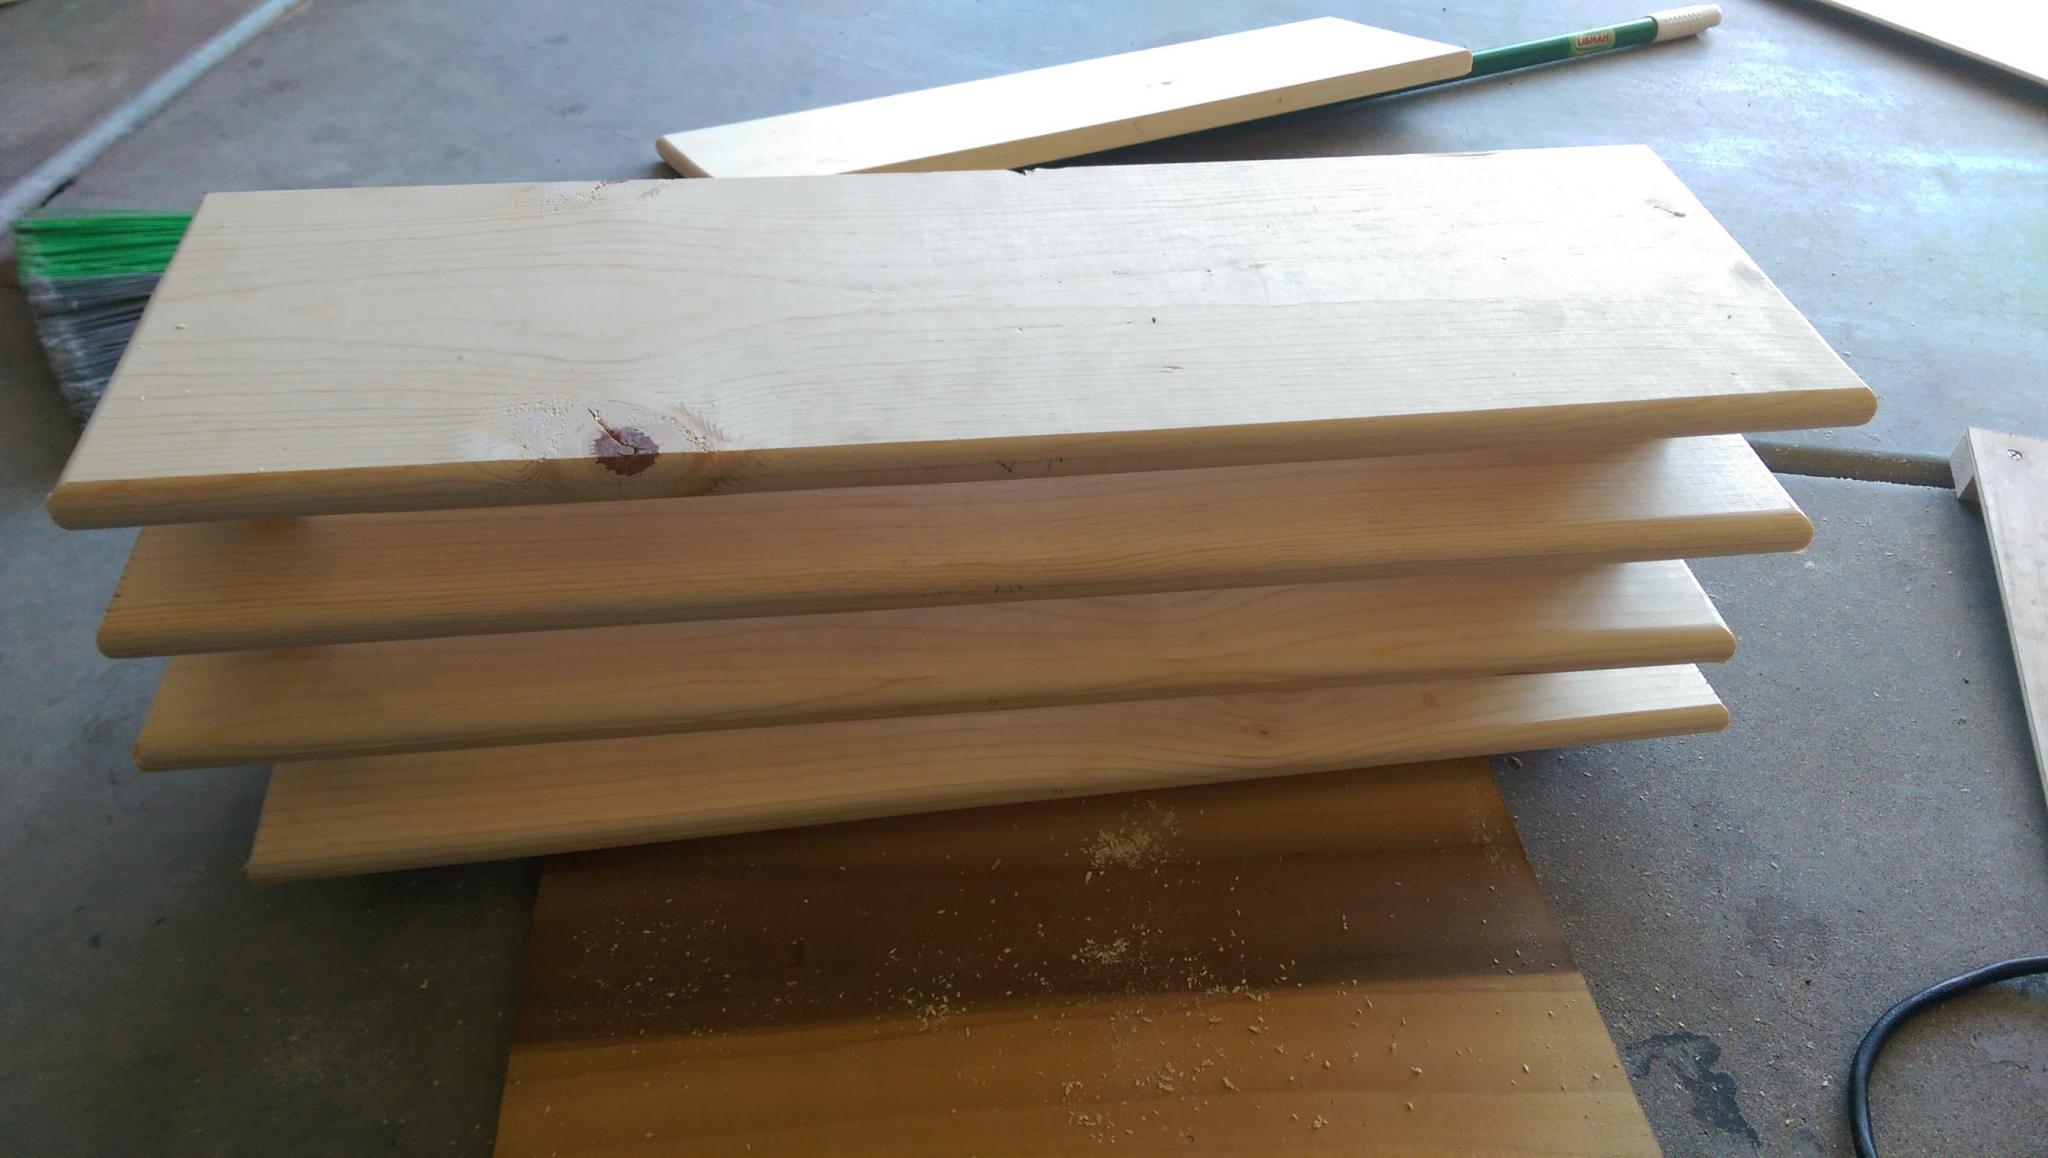
Putting it all together it's starting to look like some stairs.
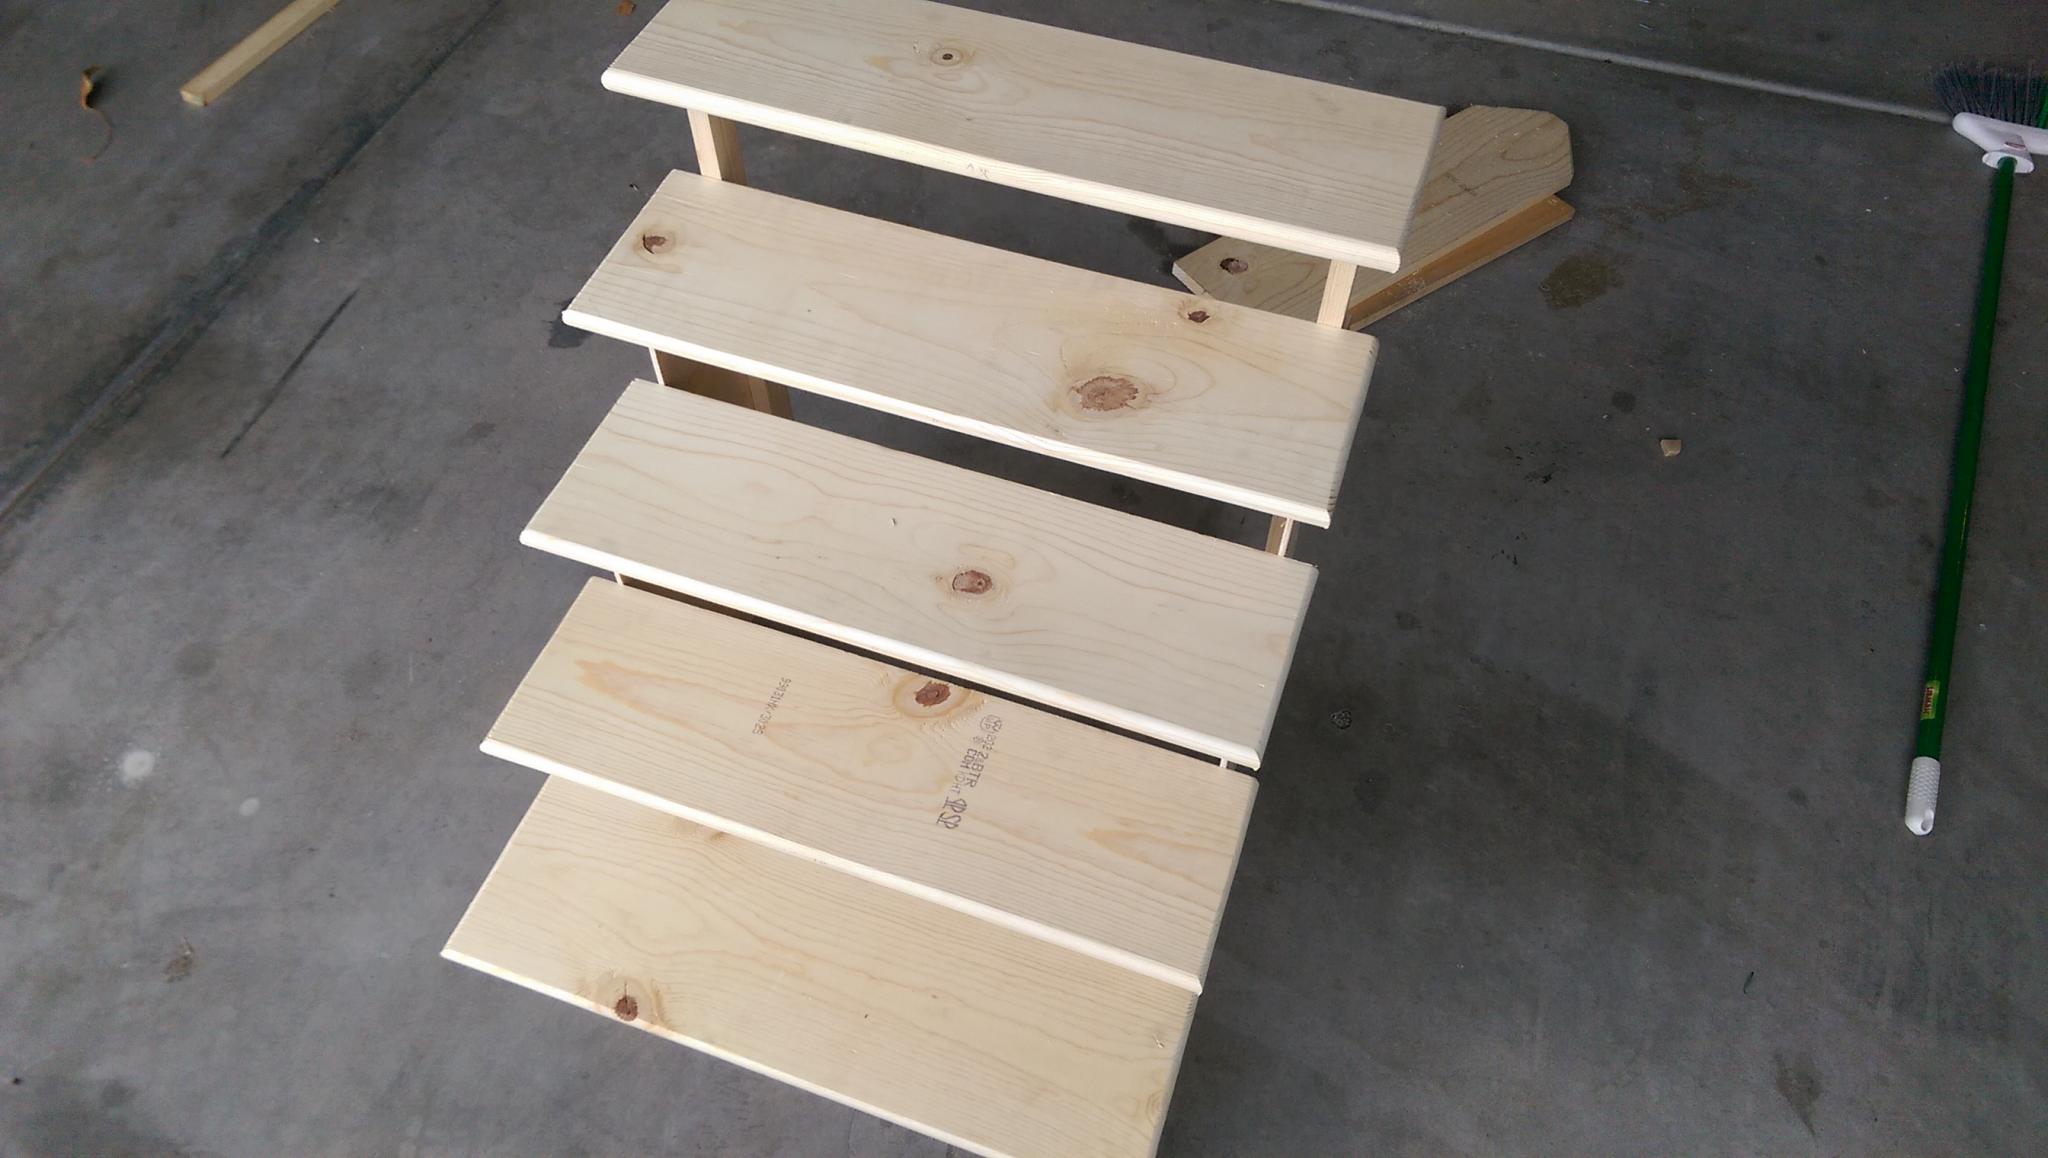
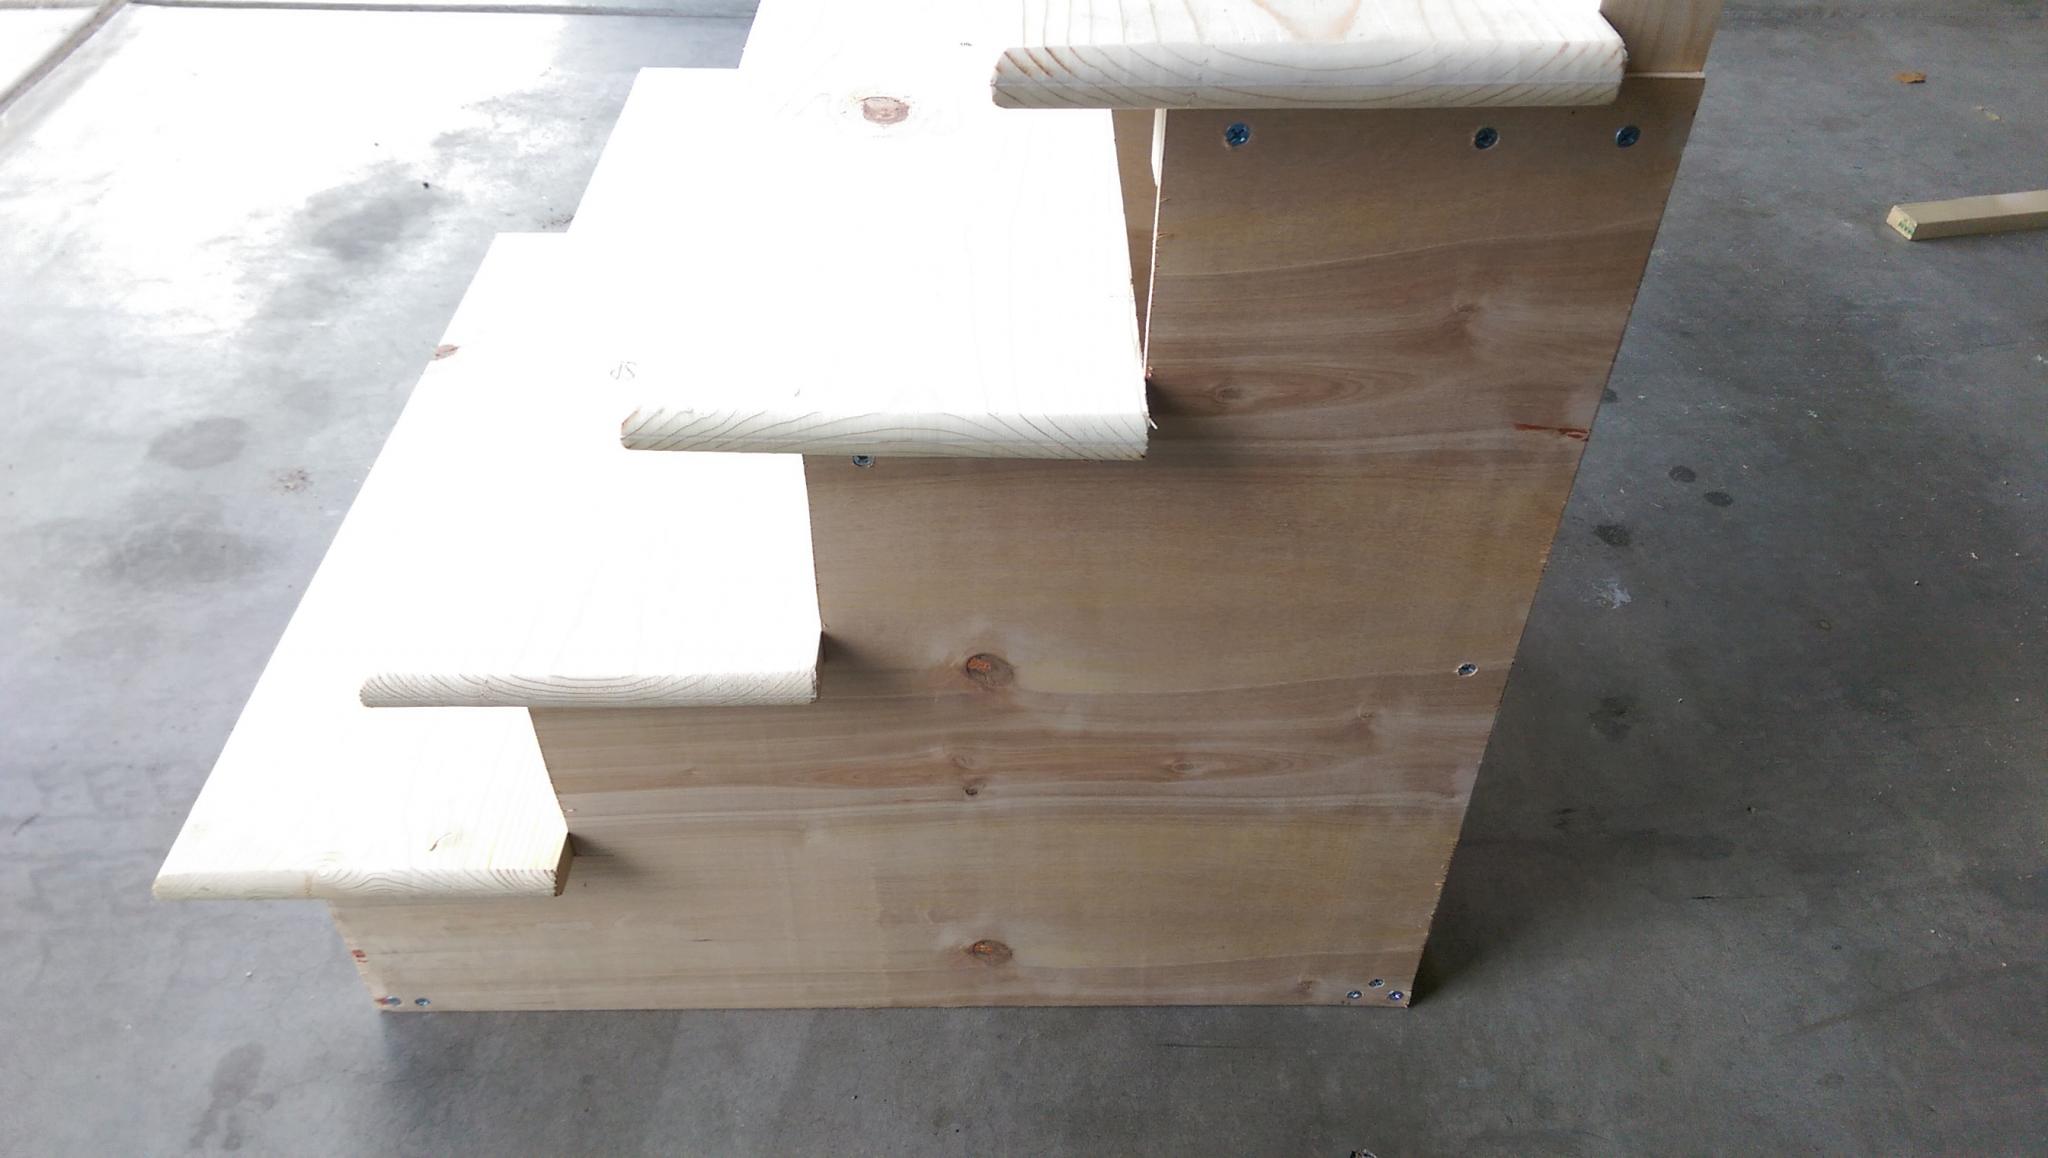
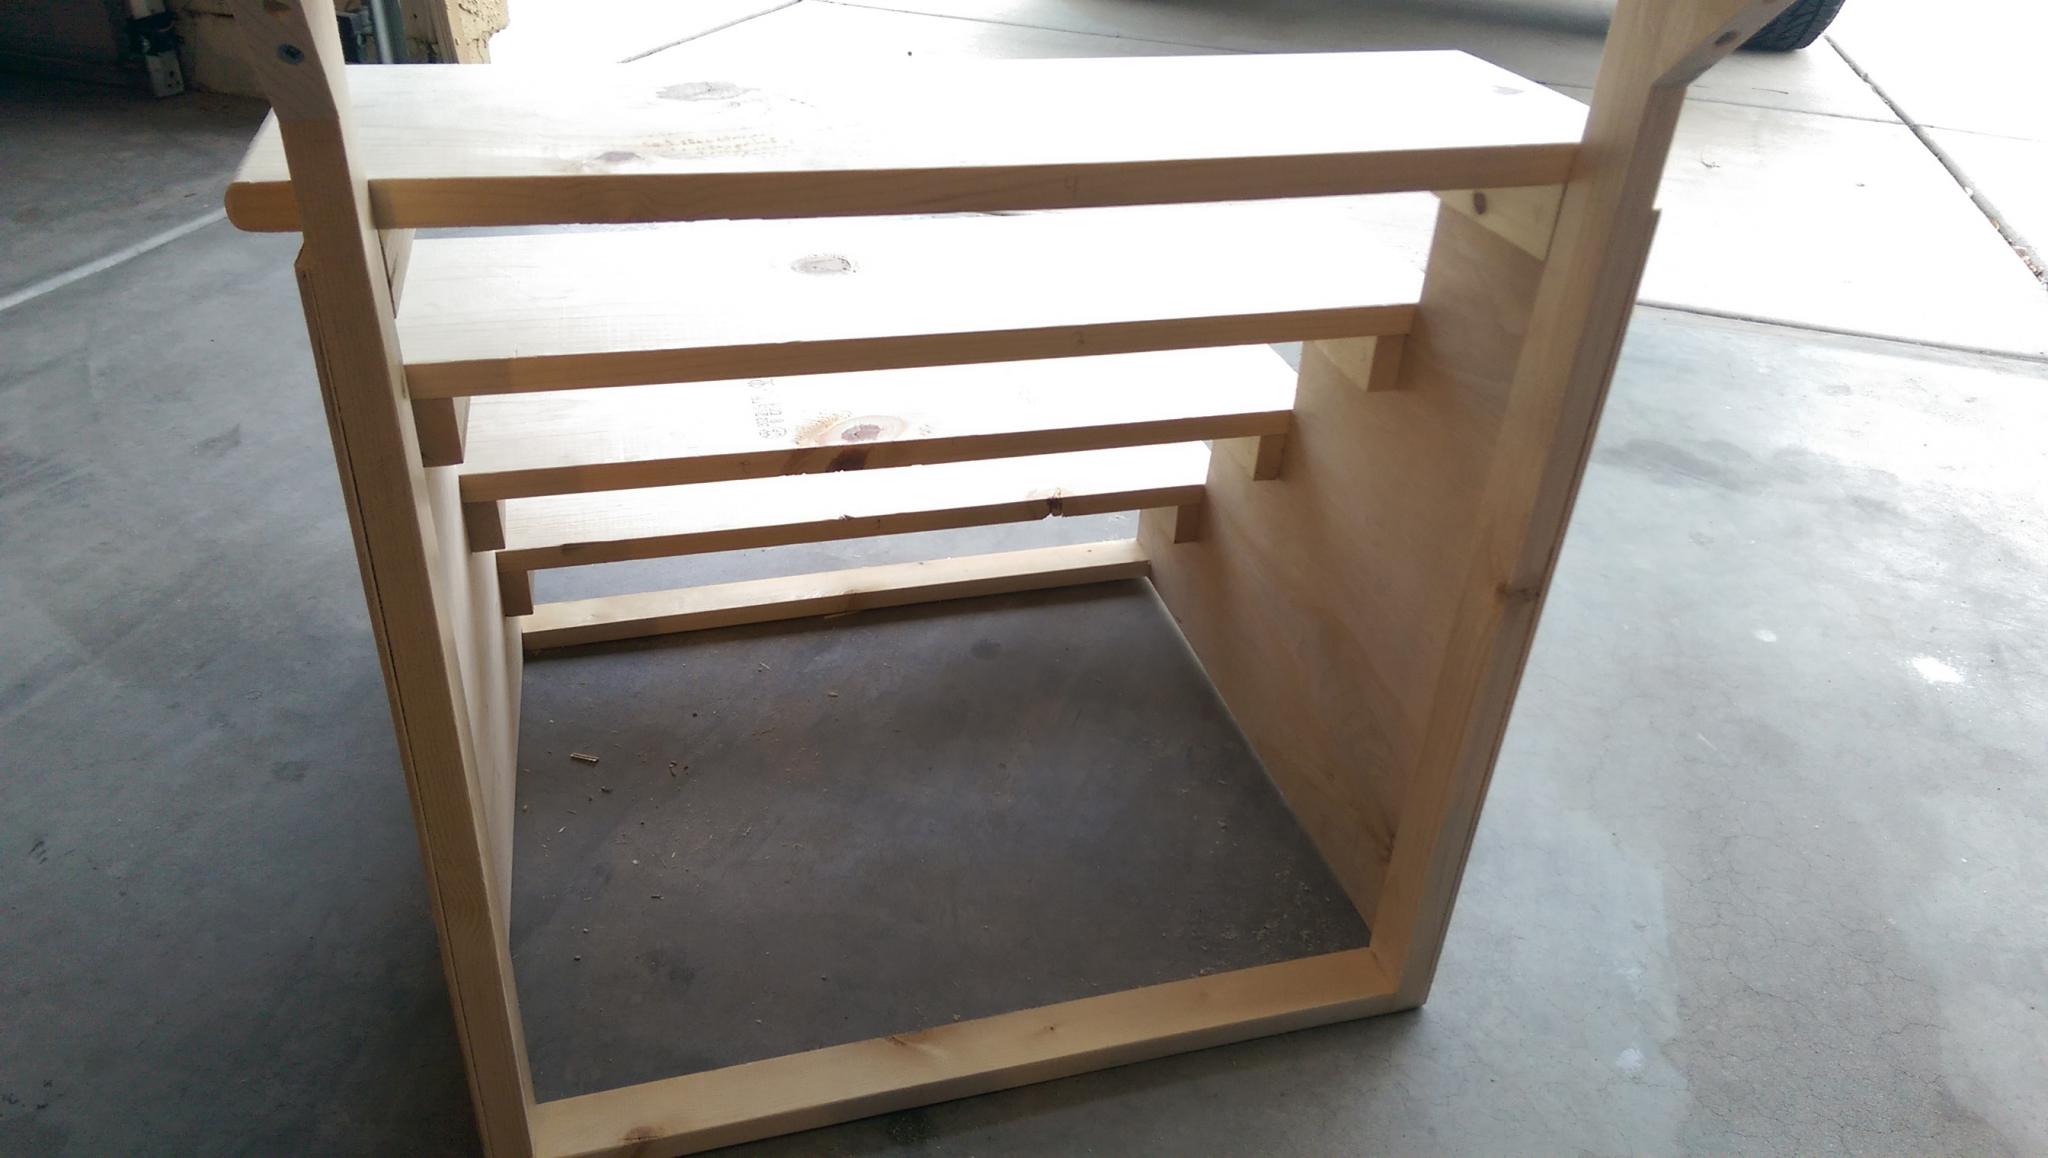
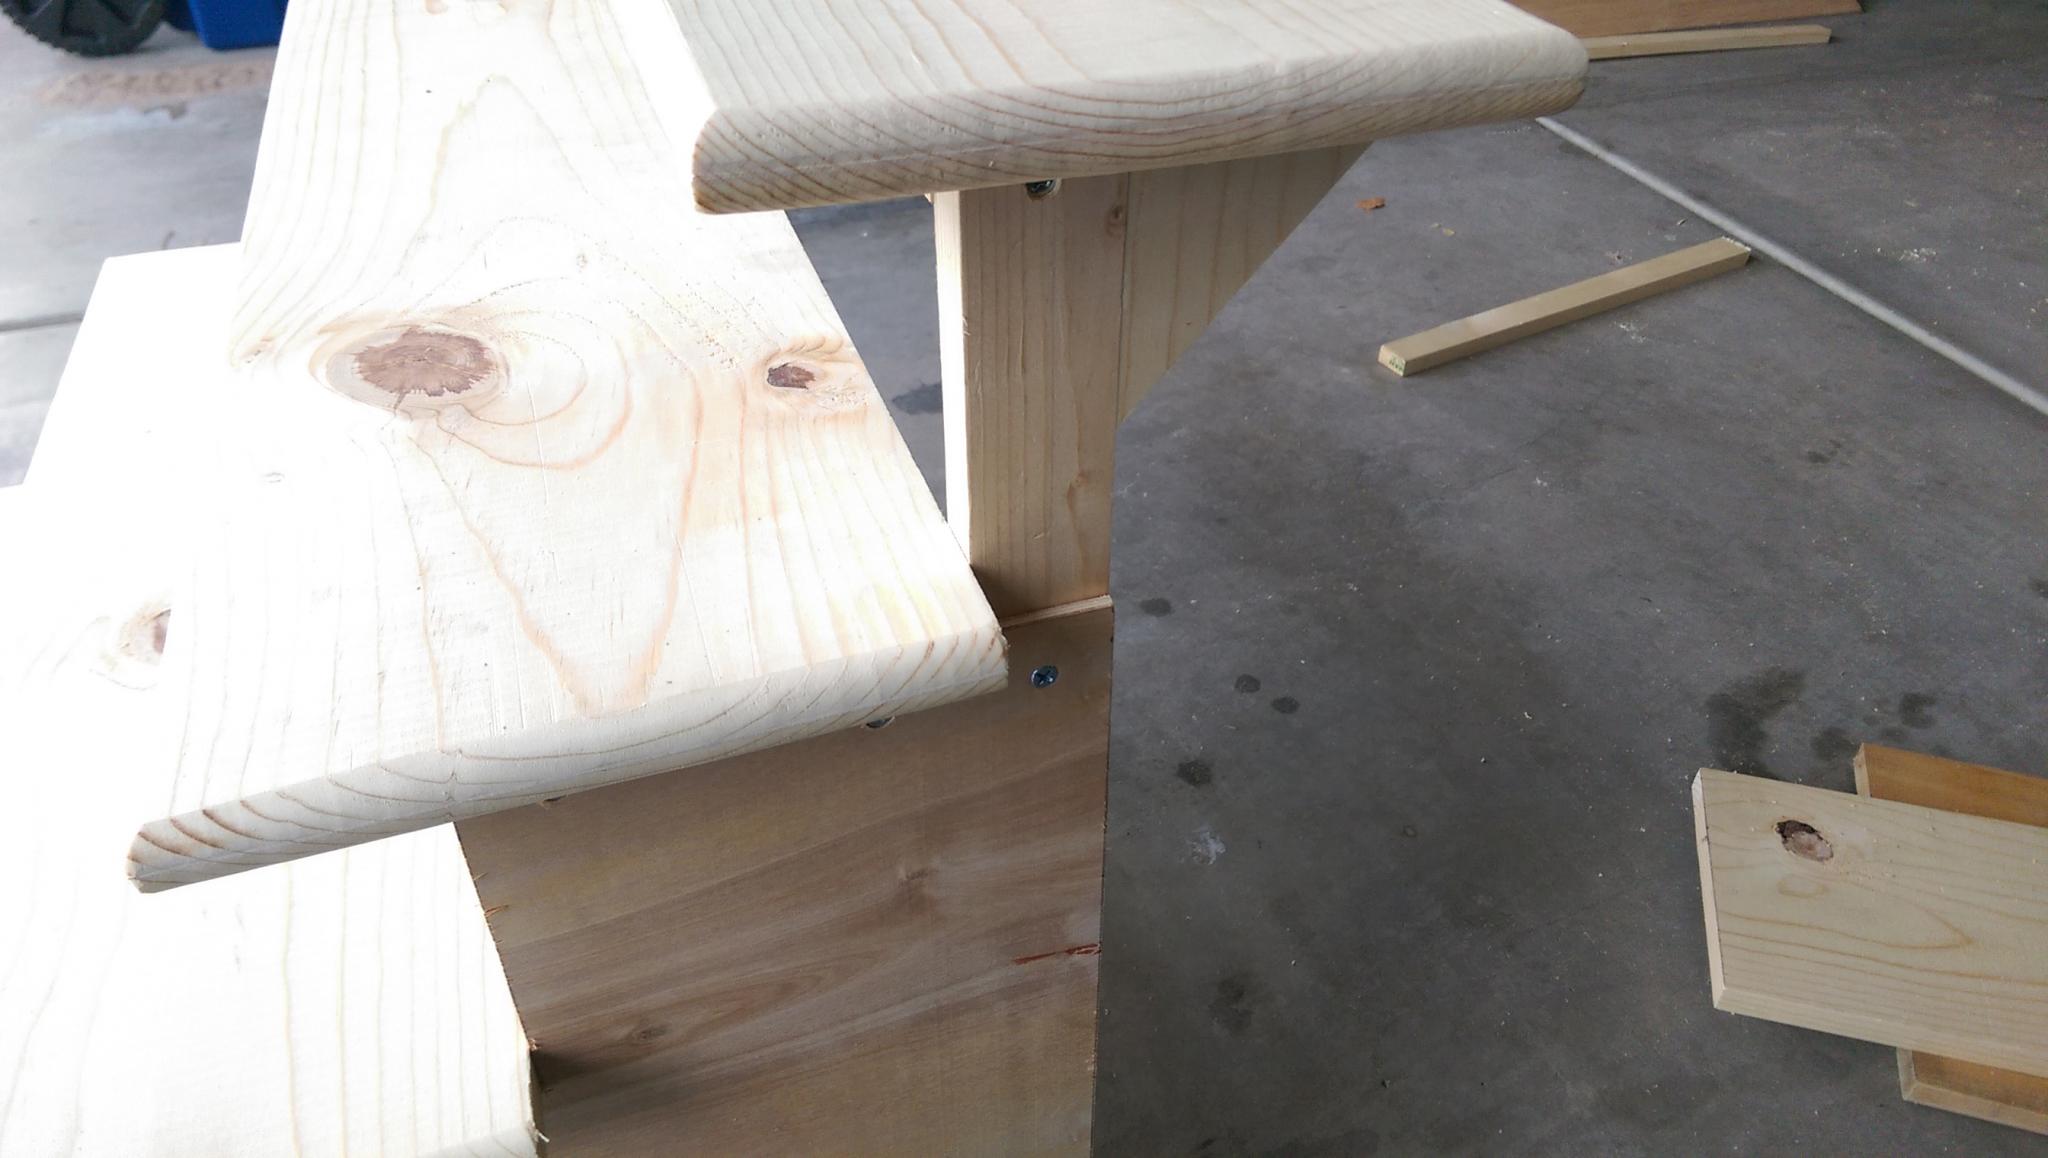
Here's the special 5th stair handling. This makes it stick out a bit to go over the foot-board.
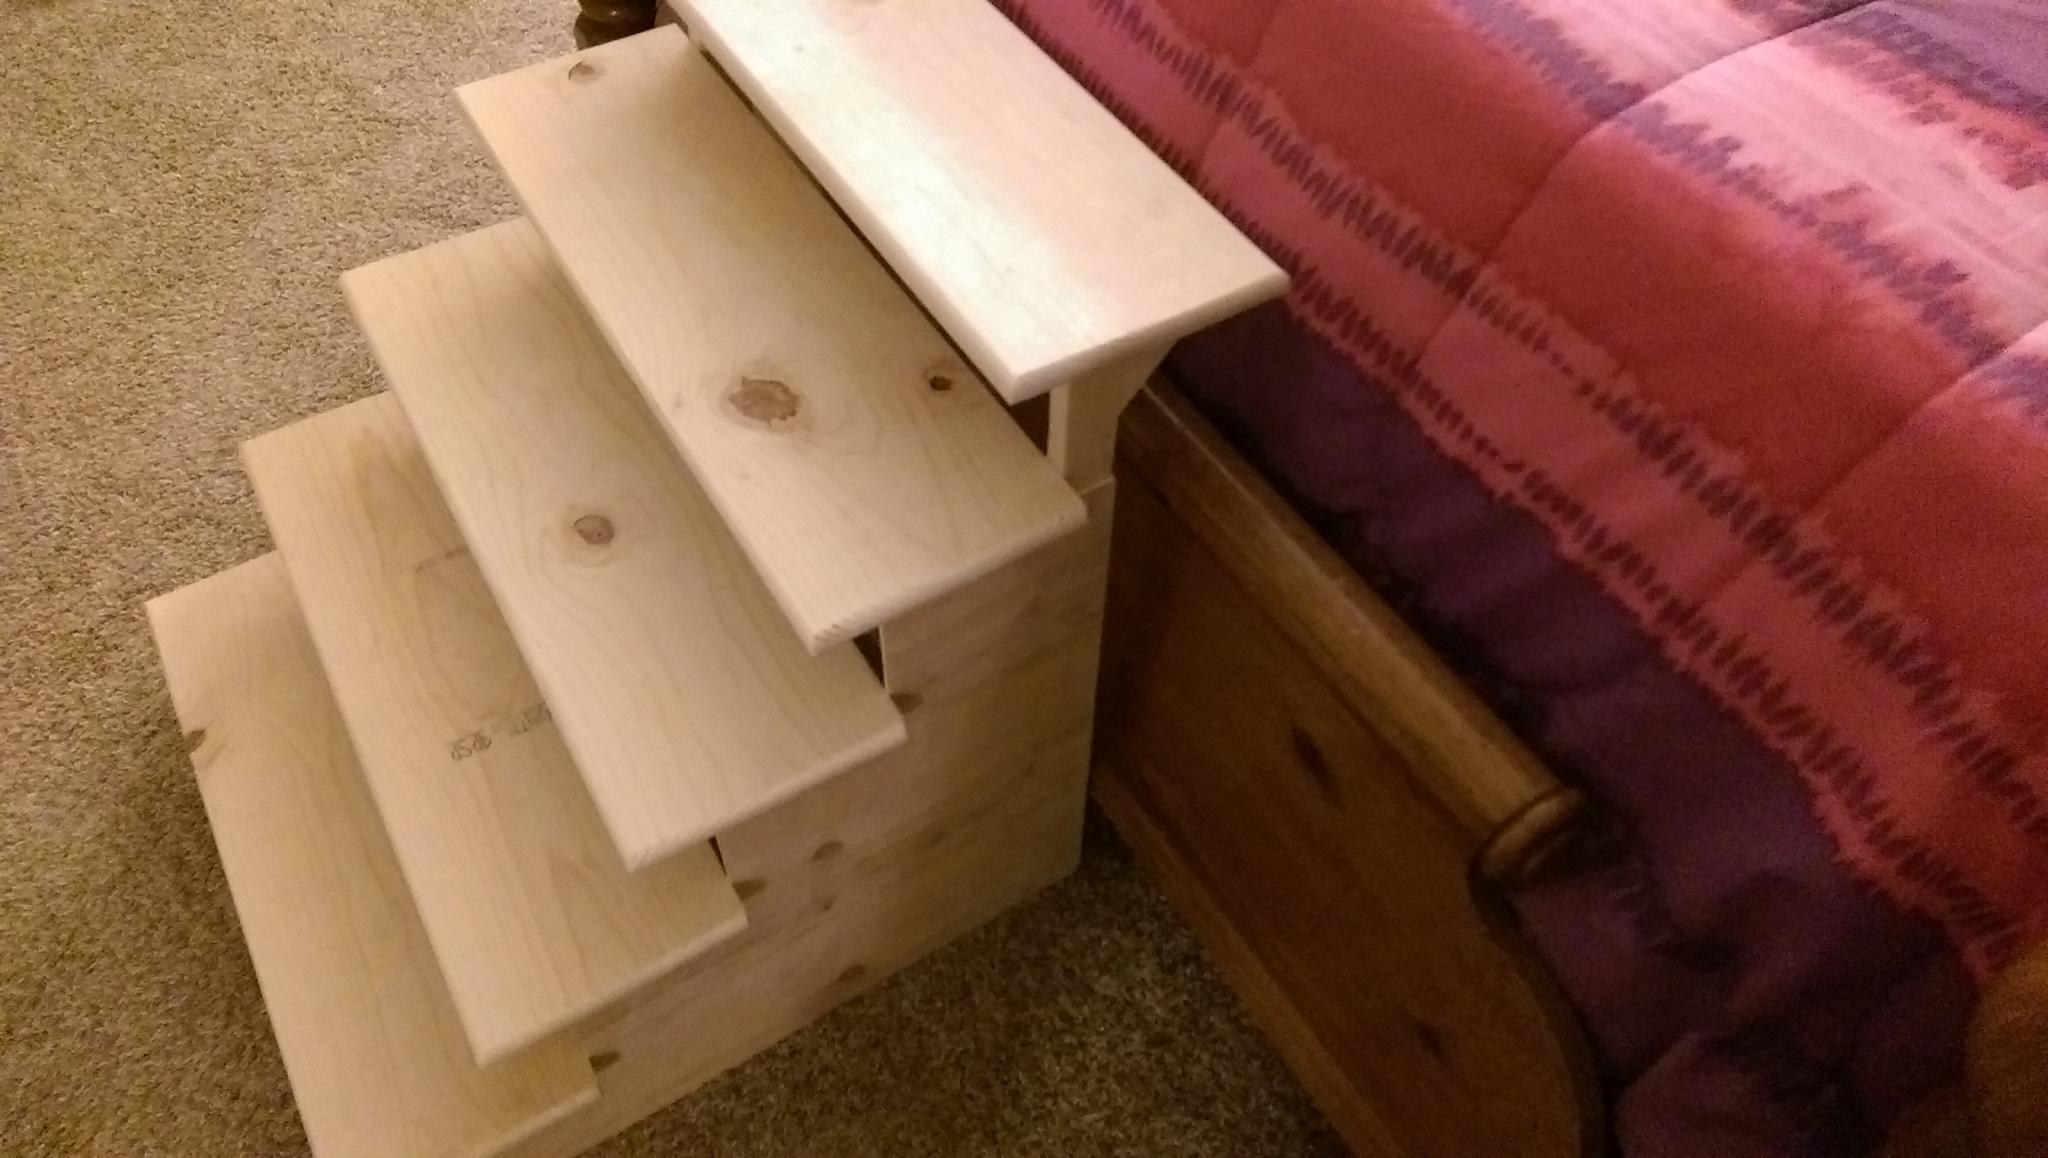
The almost finished results. I still have to patch up a couple piece of wood and give it a good sanding with the sander.
Next Steps (pun intended)
- This thing is pretty dang sturdy as it is, but I'm going to add a couple cross bars for extra support just in case.
- More sanding and a couple coats of stain to match the foot-board of the bed.
