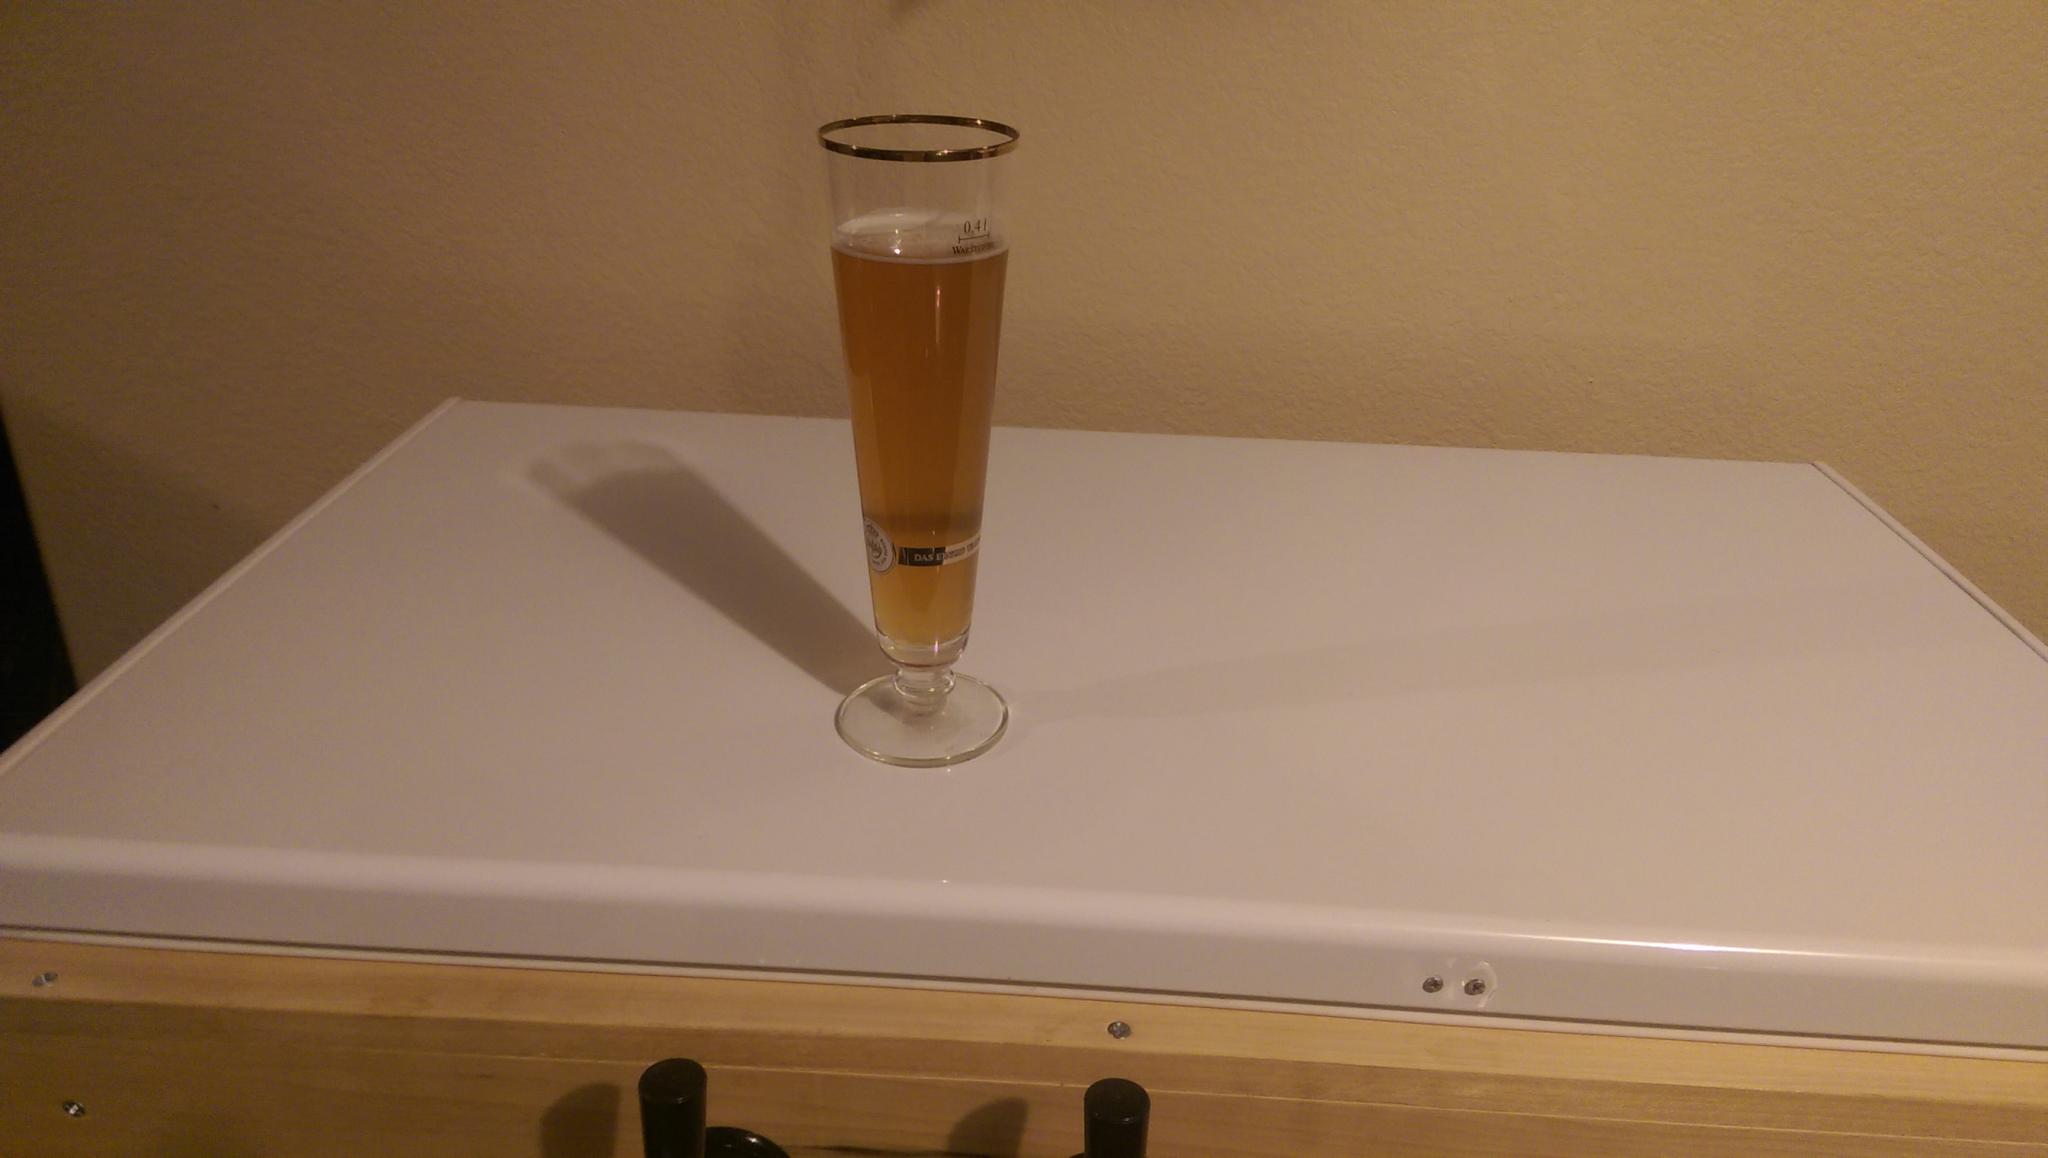
Step by Step All Grain Brew Day
I figured I would go all out and explain, step by step, what a brew day is like for me - what equipment I use, what tools I use, and how I go about brewing.
In reality, manual labor usually spans multiple days and the entire beer making process can span many weeks. This has turned into a bit of a routine mostly based on first hand experiences and learning as I go. I sometimes take shortcuts and do things only out of habit, so there may indeed be better ways. A typical brew takes around 6 hours if you don't include all of the cleanup. It can take more or less depending on if I brew one or two 5 gallon batches. If you time things right doing two batches at the same time doesn't take that much more time. This makes having double the equipment in some places really worth it.
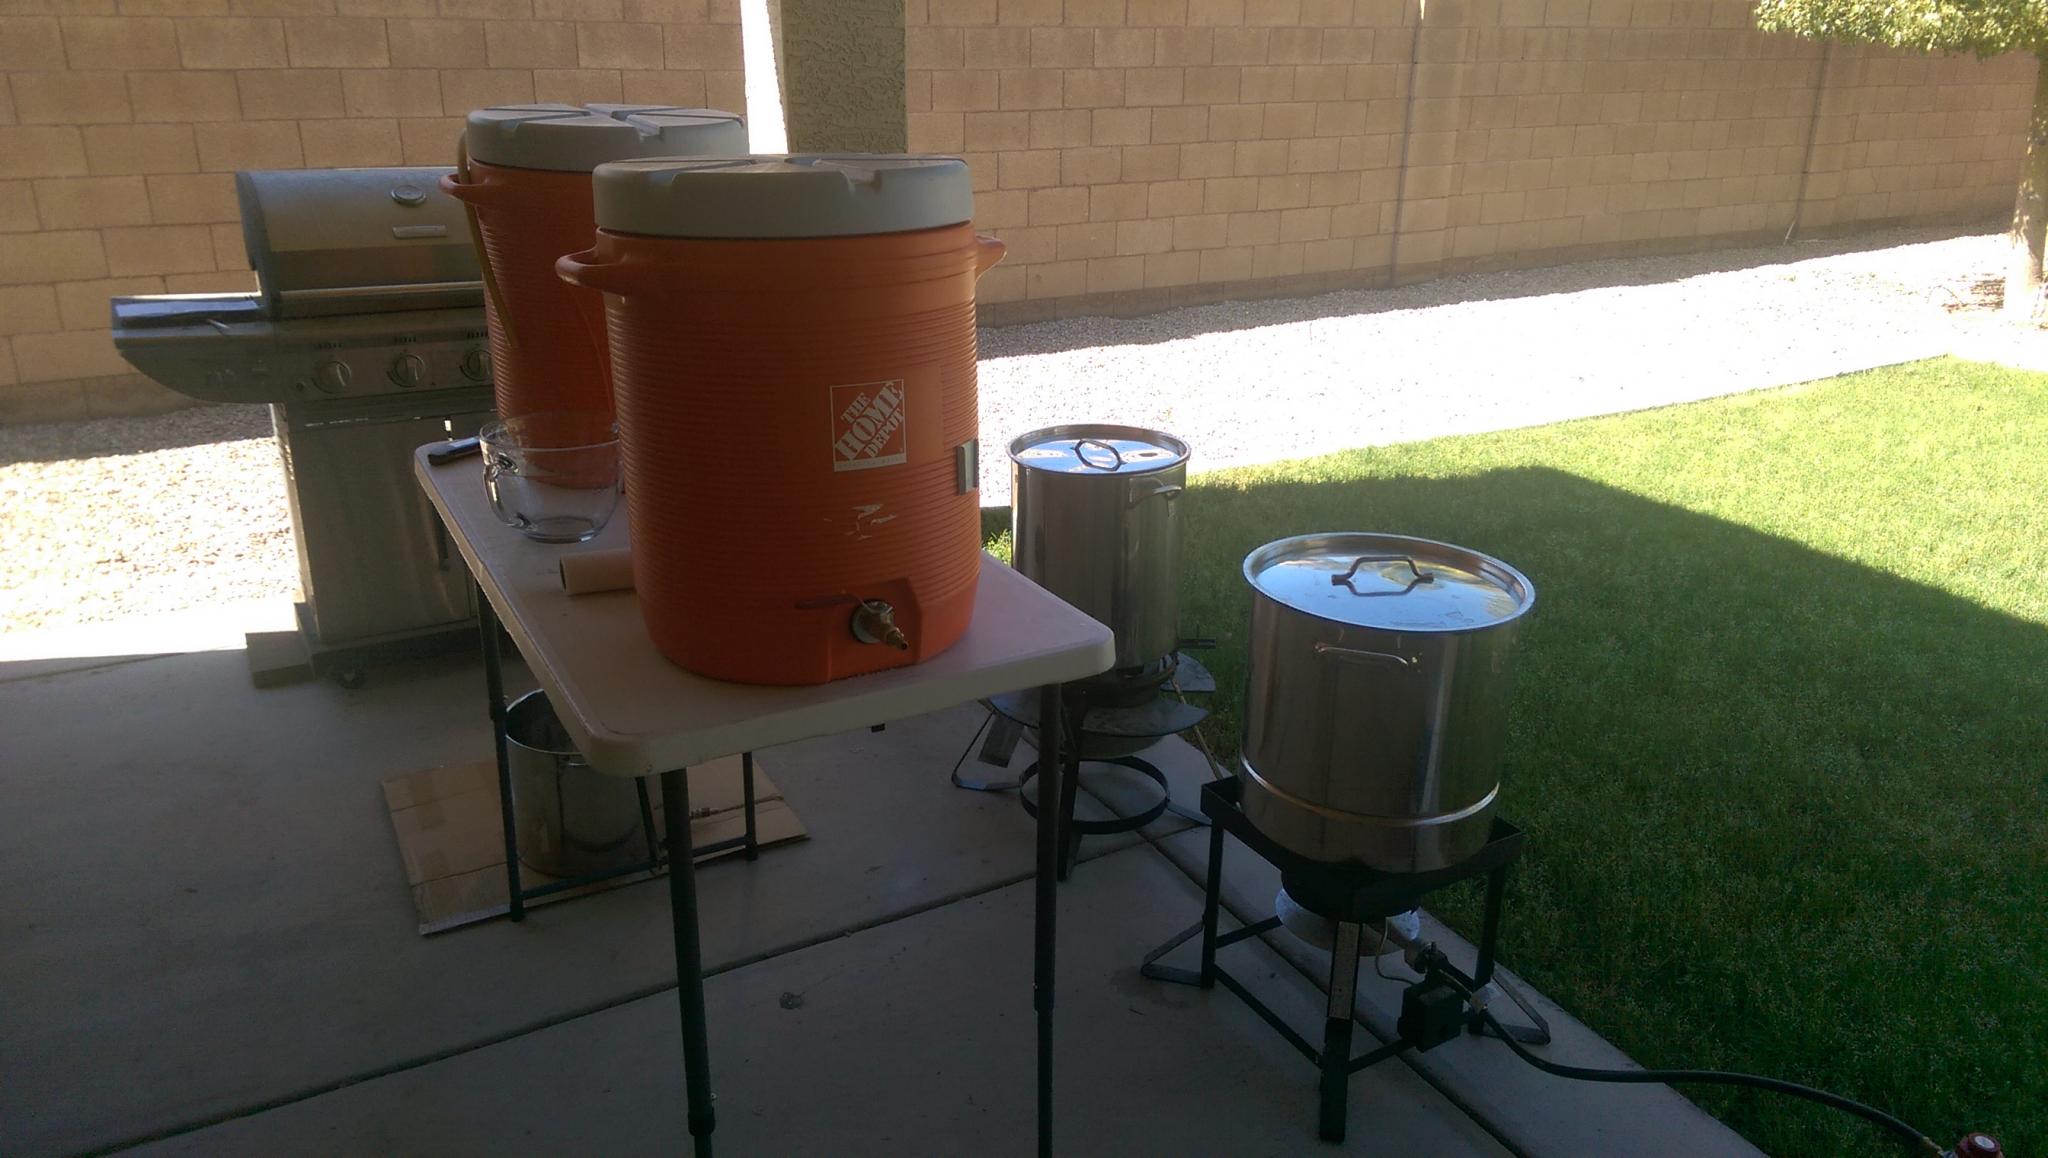
Here's the basic setup.
- Modified cooler to function as mash tun that can be elevated above the pot for draining
- Propane turkey fryer burner
- Some stainless steel pots
- A really good thermometer
- A strainer
- A turkey baster
- A pot/bucket to vorlough
- Something to stir boiling wort in the stainless steel pots
- A digital scale that can measure at least in ounces
- Wort chiller
- Fermenter and airlock
- Of course, the recipe ingredients
- For kegging, you need a keg and CO2 and assorted accessories (like a kegerator or a picnic tap)
I have made a spreadsheet that I use to log what happens throughout the brew. It has fields I use, but you could easily add more and customize it. Doing this has been very important as it helps me keep track of differences between calculated and actual measurements so that I can repeat or better adjust next time. The spreadsheet also contains a calculator I use, in the event I don't hit a target gravity, to add DME at the end of a boil.
Choosing a Recipe
I have not really taken the dive into full recipe development, I have only modified existing recipes by changing small amounts of grain, hops, water profiles, spices, etc. I've found the recipe database at homebrewtalk.com to be exceptional. It's a great community. For example, one of my favorite brews of all time is Lake Walk Pale Ale. I've played with it a bit, but you can't beat the original.
Here are some more recipes you can't go wrong with.
- All-Grain - Cascades / Orange Pale Ale
- All-Grain - Fresh Squeezed IPA
- All-Grain - Citra Pale Ale- Oddsides Clone
- All-Grain - Dark Chocolate Stout
- Multiple - Dogfish Head 60 Minute Clone (AG) & Extract
As for sourcing ingredients, I find most of what I need at a reasonable price and shipped quickly from Austin Homebrew. When, I need something for the secondary or mash like orange peel or coconut I'll usually hit the local Whole Foods.
Mill Grain and Prepare Water
Usually the night before the actual brew day I mill the grain, get all the water together and measured out, and verify I have everything needed for the recipe. You do not want to get halfway through a brew and realize you don't have something. On top of that, brew day can be pretty crazy with a lot going on and the more prep the better. Milling the grain consists of sometimes measuring it on a scale and running it through my Nutcracker I. You'll find people that can glance at milled grain out of the corner of their eye and tell you if the crush is right. As for me, I mostly just guess. Not too much, not too little- just right. Buying grain pre-milled is also a decent sanity check to see how coarse their mill is. Sometimes I'll store it in a bag or just dump it right into the mash tun and seal it for the next day.
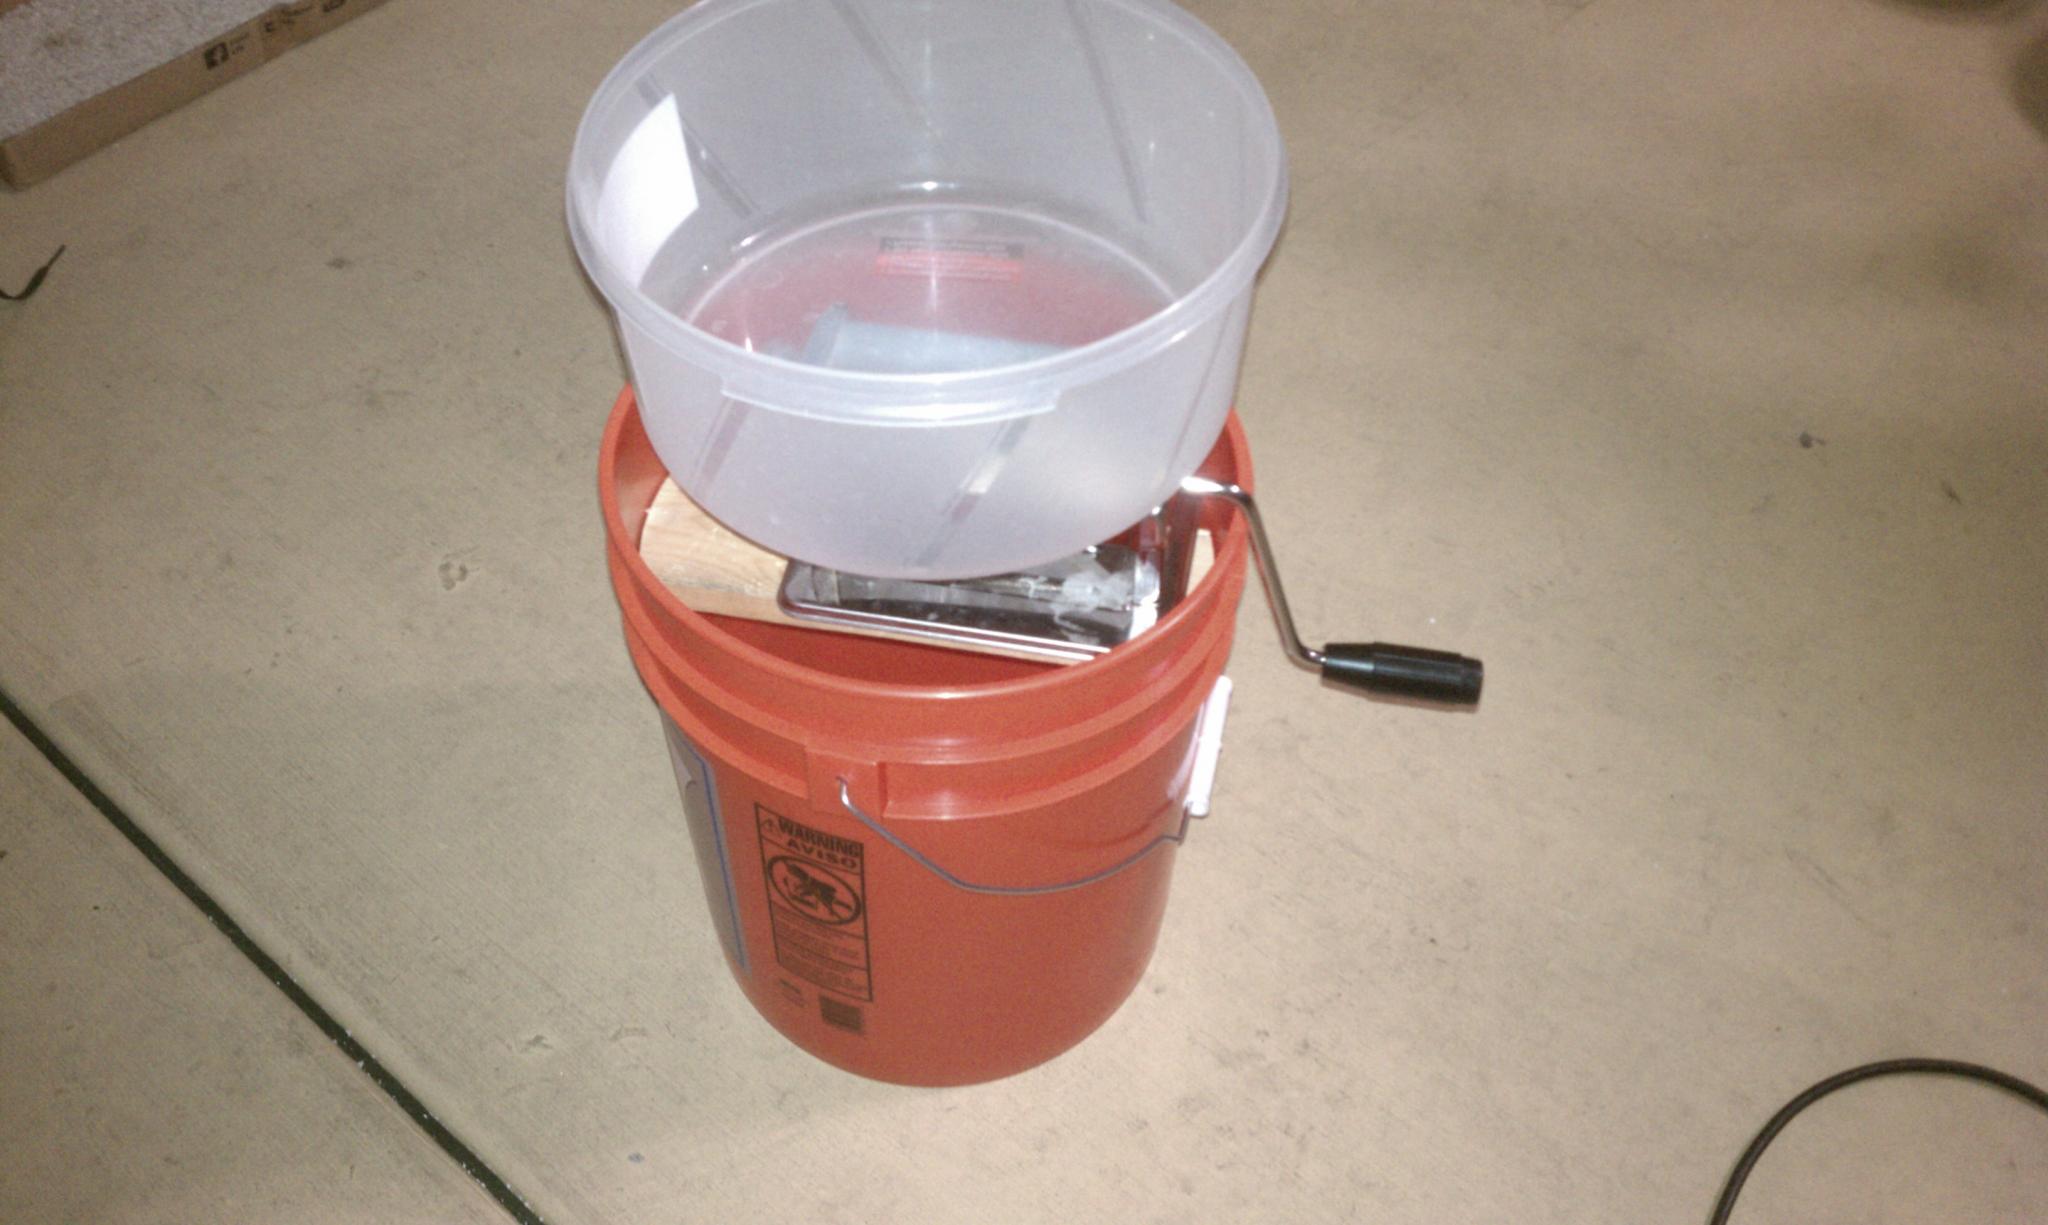
It is worth noting that crushed grain has maybe a couple month life span while uncrushed grain can be good for as long as a year. So, keep that in mind when buying bulk or going nuts with having crushed grain stockpiled.
As for water, I'll usually either filter water or buy water depending on the beer. Water alone can be nothing but pouring in store bought spring water for the casual brew or using a calculator and salts and carefully crafting up the desired water profile for the meticulous brew. I personally use the Bru'n Water calculator. If you plan on using tap water, try to get a water report as a base to start with and throw in some distilled water to establish a nice base with salts to bring what you need back up.
The Start of Brew Day: Prepare Strike Water
When the brew day officially starts I'll fire up the propane burner and start heating the strike water to the correct temperature to hit the necessary mash temp. You're usually targeting something in the 153 degree range. Be careful here because the temperature you mash at, almost to the degree, is very important. Too high of a temperature will result in less starch conversion and more dextrines.
As for water volumes and temps, I actually tend to lean heavily on the Brew365 Mash & Sparge Water Calculator which is usually pretty accurate. However, that can all change depending on equipment setup.
Mashing In
When the water is at temp, I slowly pour the grain into the water making sure to stir. The idea here is not to get clumps of grain that stick together in the mash and make sure everything is wet.
When it's all mixed in well, I'll take a temp reading (and frantically prepare to adjust with cold or boiling water if it's off, but this is usually only a problem if I'm brewing in frozen tundra temperatures). Sometimes I'll take a Ph reading after 5-10 minutes to see if I need to adjust for that as well (or use it later to confirm why I got a bad conversion rate). In any event, mix the grain in well and seal it up quickly so you don't lose any heat. The coolers seem to keep the temperature pretty stable for a full hour, with maybe a degree drop depending on the ambient temperature. There is where keeping a log is invaluable.
Vorlough
Usually after an hour, it's ready to start working on getting the first runnings into the boil kettle- a large stainless steel pot with enough room to easily boil 7-8 gallons. First, I take a small container (~ 0.5 gallon) and initially drain the wort into it and then carefully pour it back into the top of the mash tun without disturbing the existing grain bed. I do this sometimes half a dozen times until I no longer see any grain or sediment in the wort. After that, I put the hose into the boil kettle and drain everything.
Then, I take the heated sparge water, usually in the 180 degree range, and just dump the whole thing into the top of the mash tun. This is how I batch sparge. I stir it in and let it sit for about 10 minutes. I vorlough again, and then drain it completely into the boil kettle.
Usually, before this completes I fire up the propane burner to get the boil started. It can take quite some time to get a nice rolling boil to occur and you want to carefully monitor getting to this point. This is the most likely point that a boil over will occur. If it starts to foam up, I'll either drop the burner temp or stir it, or both.
Boil
While the boil is happening I mostly pay attention to the hop schedule. I'll measure out hops before they are needed on a scale and throw them in, stirring as necessary. In the last 15 minutes of the boil, I'll throw in the wort chiller and a whirfloc tablet or a tablespoon of irish moss.
The end of the boil is a turning point in how things are handled. I'm usually pretty careful about keeping things clean and sanitized for the whole show, but after the boil things are a different ballgame. After the boil you have this sugary wort that is prime for contamination until the yeast can do it's job and convert all the sugar to alcohol. So, absolutely anything that touches the wort after the boil must be cleaned and sanitized. On the other side of fermentation, things are a bit safer, but I still don't want anything in the beer knowing that I'm going to be drinking it.
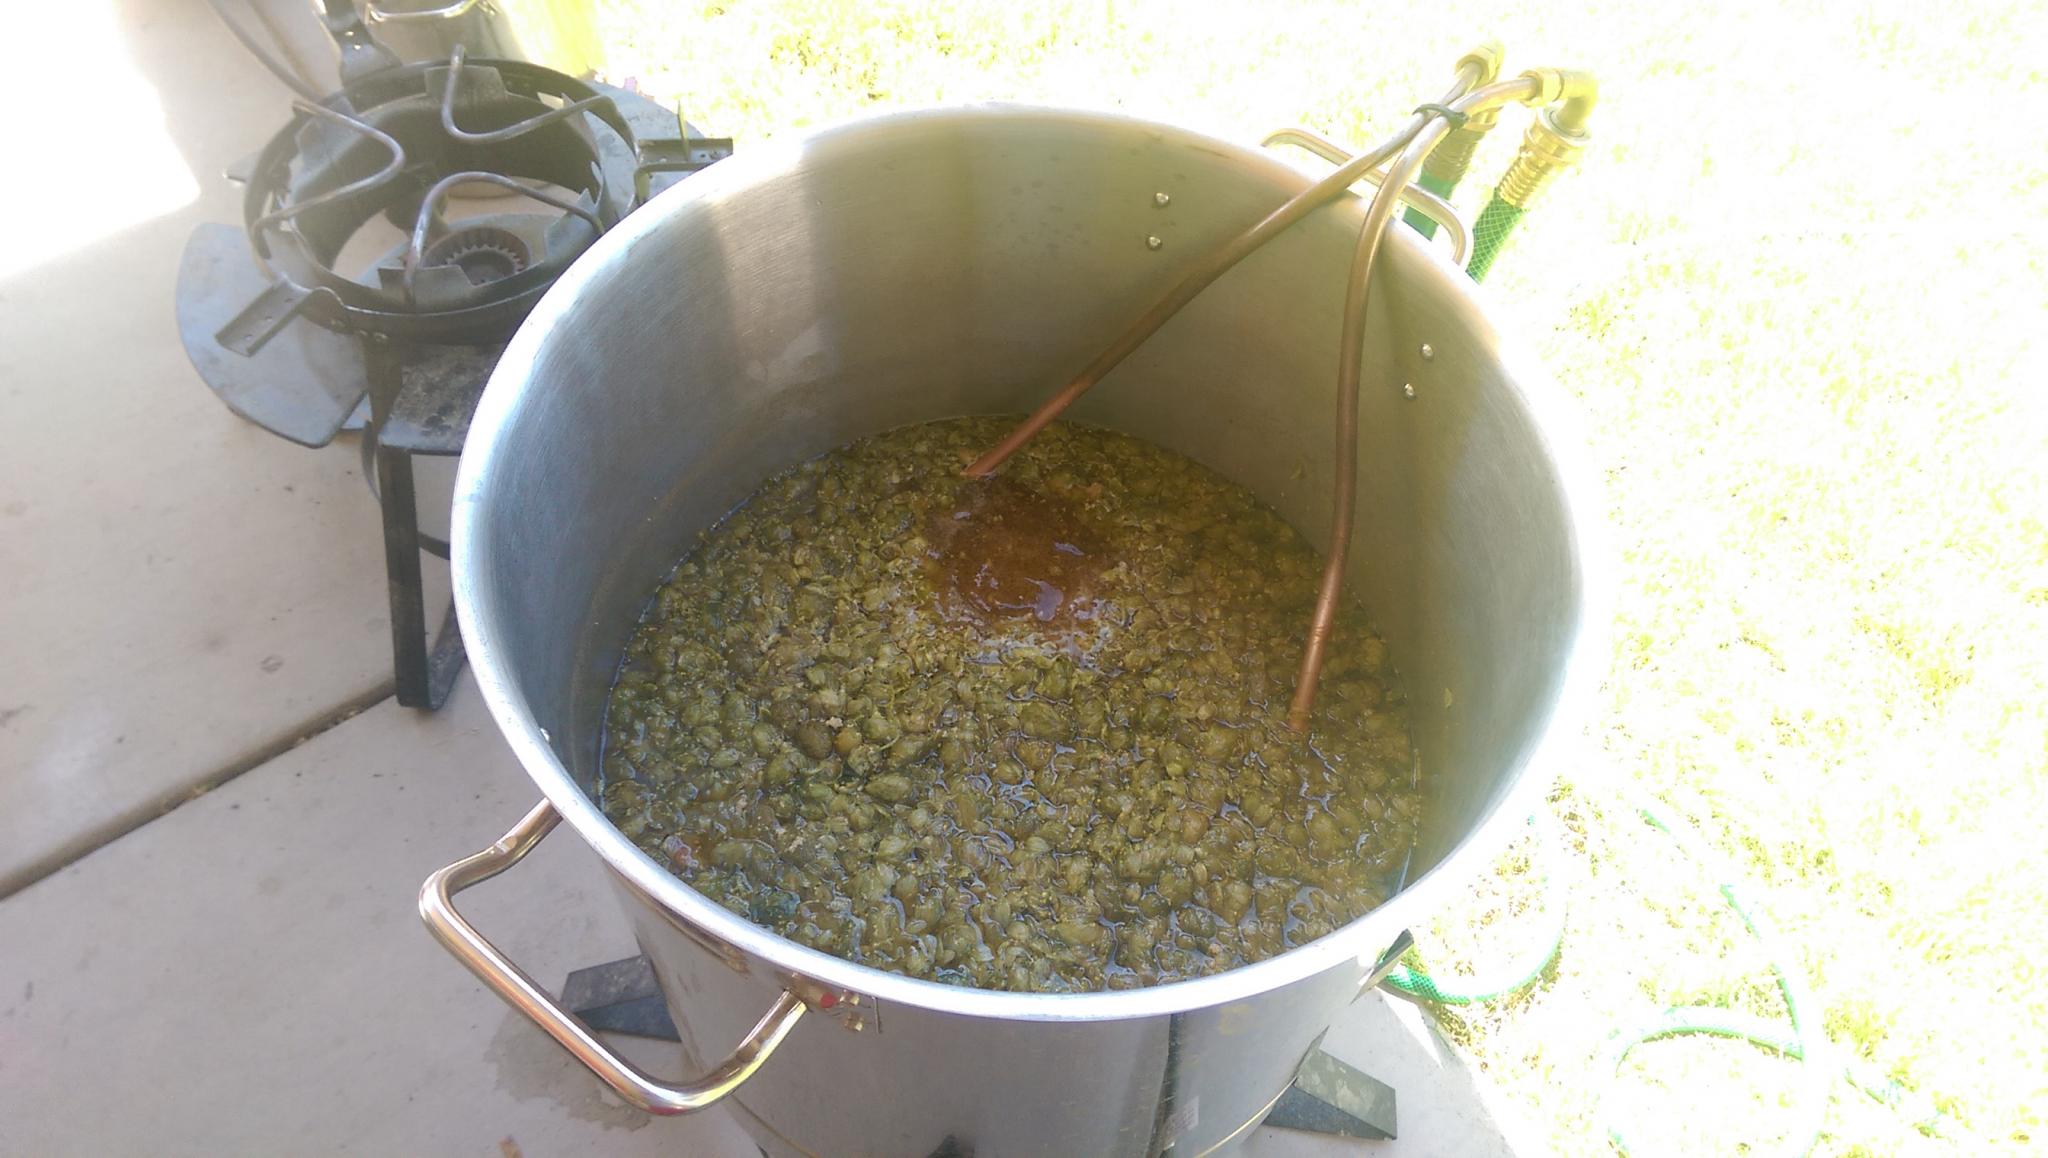
Wort Chiller
At flame out, I'll start running water through the wort chiller with a water hose. Be careful, because the water that comes out will be extremely hot at first. The heat transfer works really well at first. After that, I'll use the wort chiller for about 15 minutes to vigorously stir and create bubbles in the wort. This serves two purposes. One is to aerate, which helps the yeast, and the other is there is a much better transfer of heat when doing this causing the wort to cool faster. Depending on the ambient temperature, it can take as much as a half hour to try and get the wort down into the 70's or low 80's.
Prepare Fermenter
I prepare the fermenter by first cleaning it and then sanitizing it. I'll use this as an opportunity to sanitize many other things as well including a strainer, a turkey baster, an airlock, and any other utensils needed.
Pour to Fermenter
Once the wort is cooled, the cooler the better, I'll put the fermenter on the ground, put a strainer over it, and manually pour the wort into the fermenter through the strainer. I'll pour all but the last little bit which usually has a lot of solids. This is done rather vigorously to aerate and filter out of a lot of solids. At this point, it's a good time to take a gravity reading being very careful. This is where I use the turkey baster to pull a little bit of the wort into a glass. Next, I carefully sprinkle the dry yeast over the top of the wort. I don't stir or agitate it.
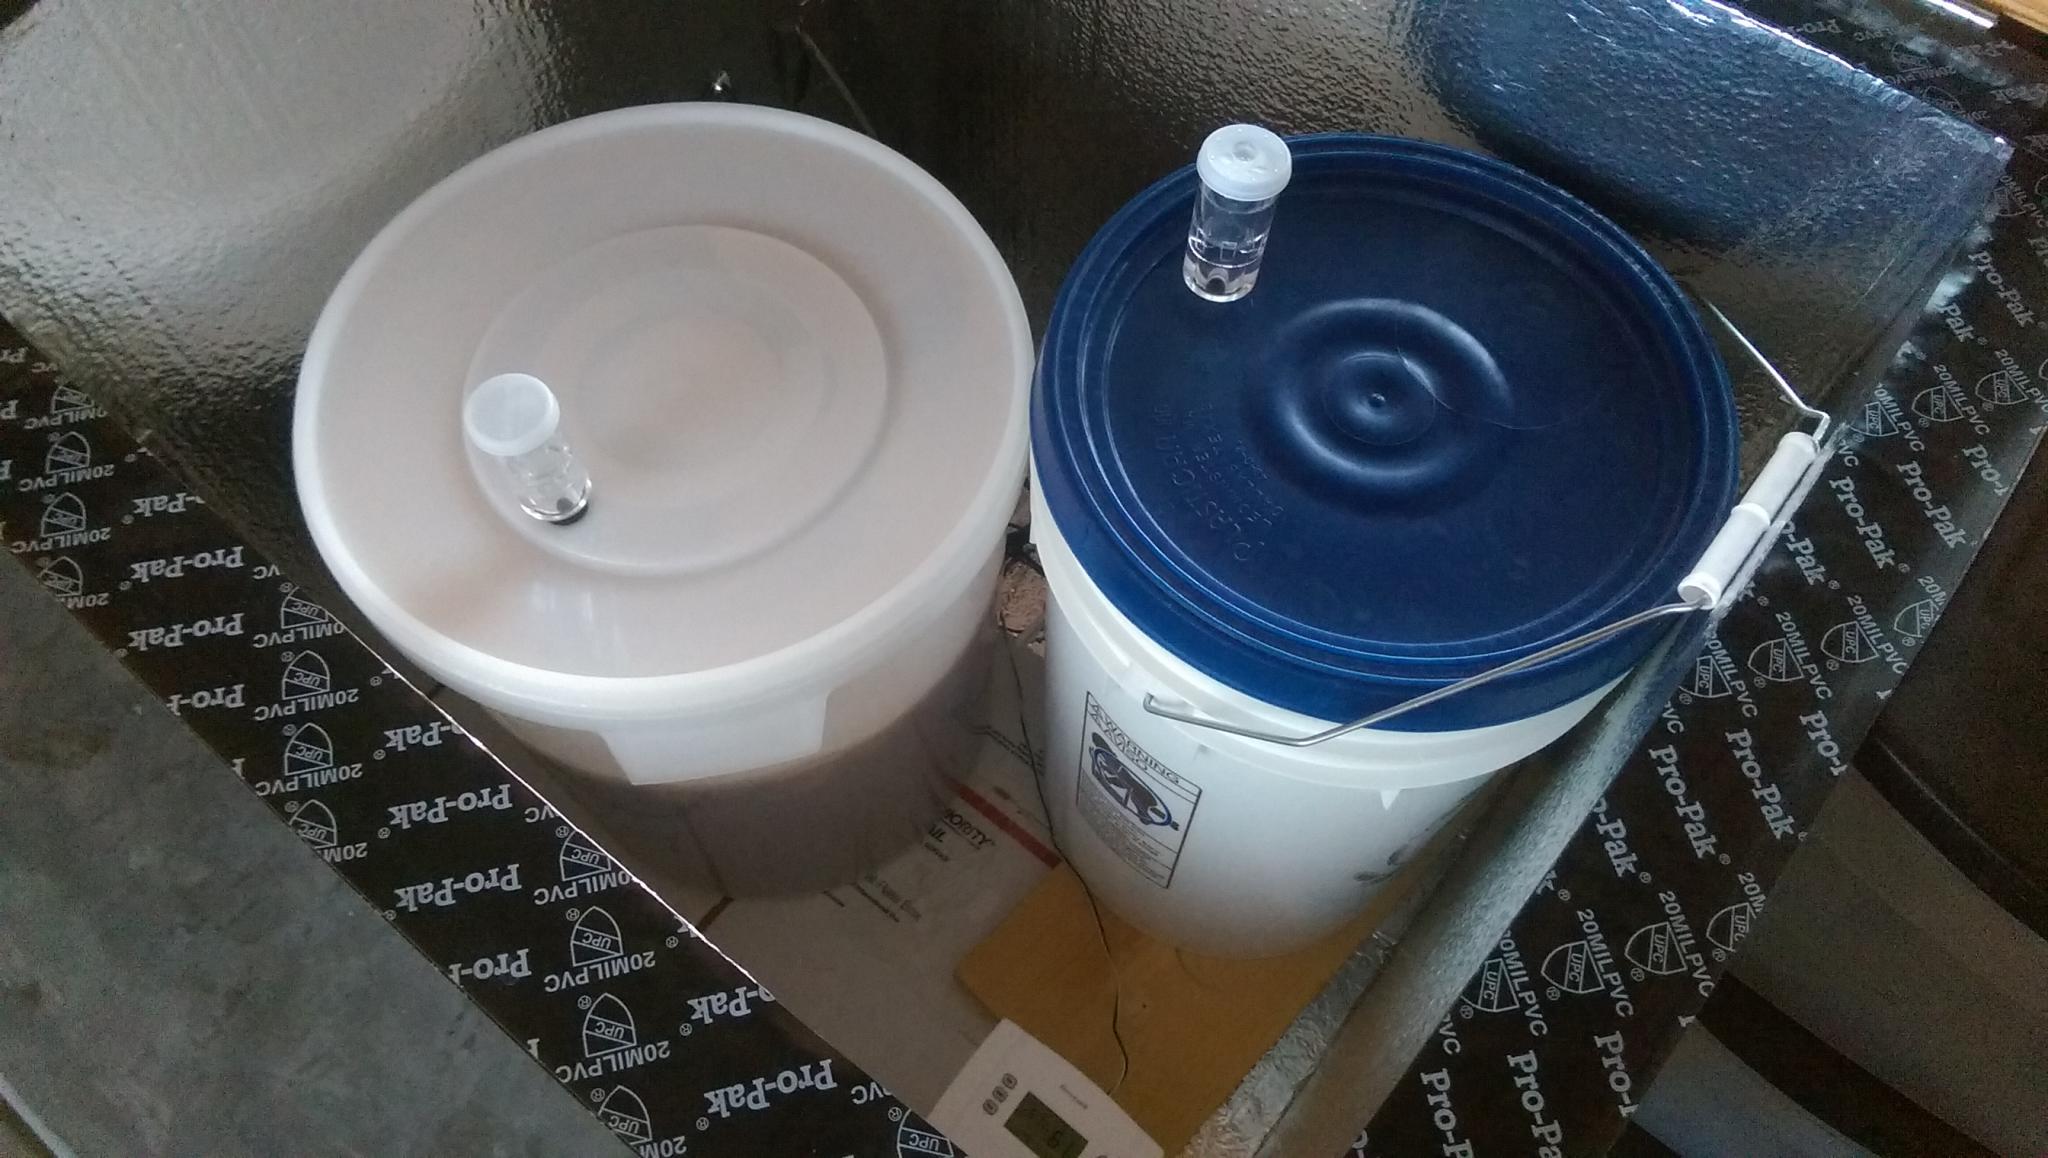
Fermentation Chamber
Before going into the temperature controller fermentation chamber, I'll put on the top and attach an airlock using some leftover sanitizer that was used to prepare the fermenter. Fermentation time and temperature varies depending on the recipe. In some cases, but not all, I'll use a secondary. I usually do this when I need to add something to the beer like dry hops, fruit, oak wood, or coconut. Sometimes I'll use a hop or muslin bag and sometimes not. If I do use one, I make sure and boil it to try and kill off any contamination. If I'm putting something like oak wood chunks or jalapenos, I'll soak them overnight in some cheap vodka. I'll rack into another fermenter, add in anything needed, and ferment further. As a general rule, I don't use a secondary with something in it for more than about 4-5 days. Leaving dry hops for weeks can result in some off flavors.
Prepare Keg
First I clean the keg with a cleaner and water. I make sure and rinse it out well. I don't do it every time, but sometimes I'll take the keg apart and carefully clean all of the parts and replace any rubber as needed. I also use a food grade grease on all of the o-rings and rubber parts. This seems to prolong the life of the keg parts much longer.
Next, I'll put sanatizer and about a gallon of water into the keg. After swishing it around I'll put air on it and completely drain the keg by running the sanitizer through the keg. After that, I'll dump any remaining sanitizer out of the keg and now it's ready for beer.
Rack to Keg and Force Carbonate
When fermentation is complete, meaning no air bubbles for at least a couple days, it's time to prepare a keg and rack from the fermenter into the keg. Sometimes I'll put a hop bag over the end of the tube that goes into the fermenter to stop from pulling hops or other things into the keg. I slowly rack into the keg making sure not to pick up any of the yeast cake, and then seal up the keg. I'll attach air and bleed the keg a couple times in an attempt to remove air and replace it with CO2. If I'm interested in carbonating quickly, I'll crank the CO2 up to 30 psi and gently roll the keg back and forth on my lap. You'll be able to hear it bubbling and air going into the keg. You can do this until it stops, usually about 15 minutes. When I'm done with that I'll put it into the kegerator and put the air back on it.
When I force carb like this, in as little as the next night, the beer is ready for the first test out of the kegerator. If I don't force carbonate, it usually takes a couple days for it to start taking some of the CO2. I've never really been peculiar about hitting an actual target amount of CO2.
From there, the keg goes into the kegerator where it sits at about 32 degrees to be dispensed under light air pressure around 3-5 pounds.
The results, are usually pretty dang good.
