Brewing Fermentation Chamber Build
After the kegerator build it was time to solve the inconsistent fermentation temperature problem. Adding yet another freezer and compressor seemed like a pretty inefficient way to go about this. I decided that the kegerator itself would make a very nice source of cooling after doing some research and investigating a variety of methods.
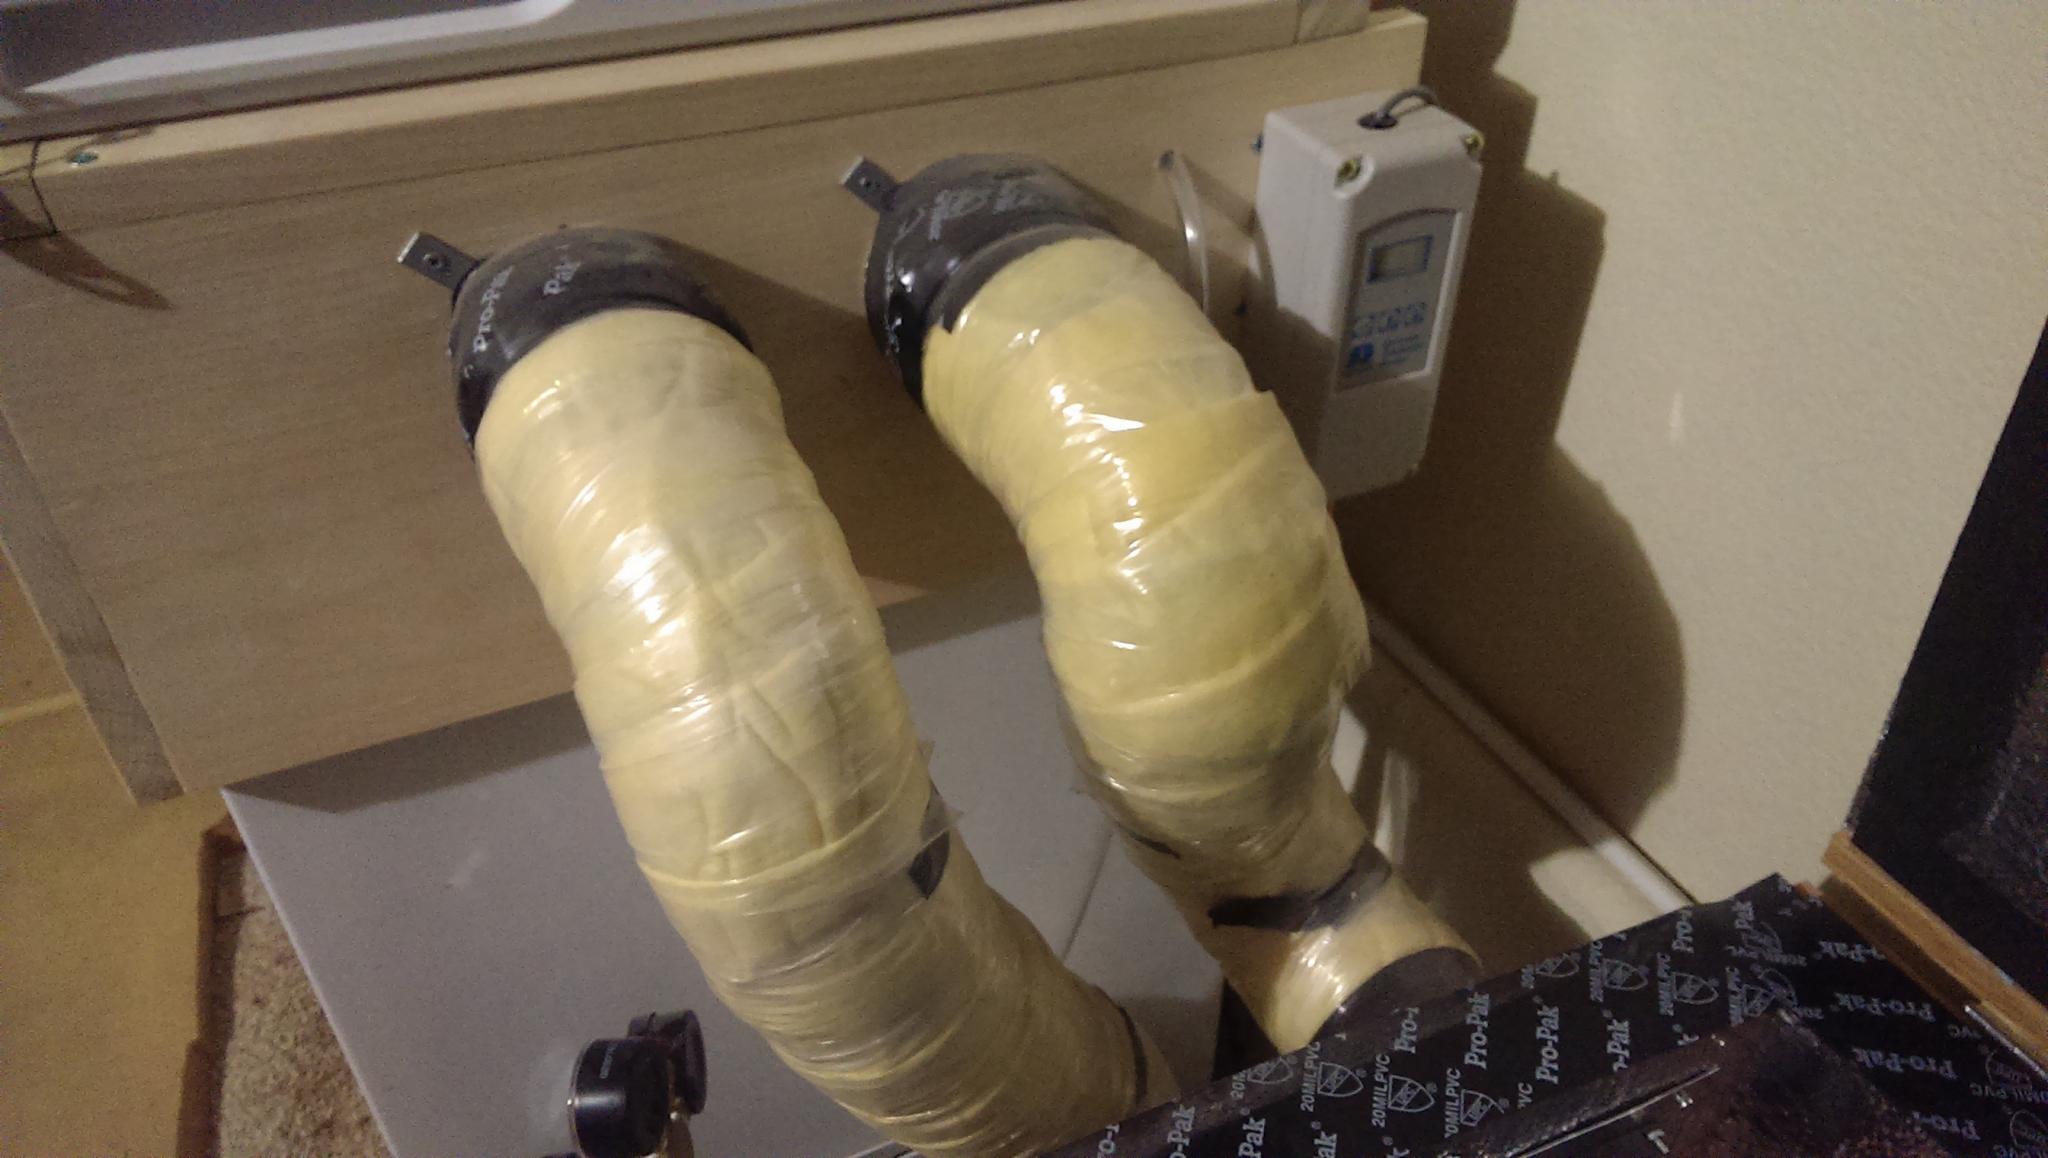
I came up with the idea that I would siphon the cold air out of the kegerator. Of course, it can't just be one way or it wouldn't work very well. The solution was to connect a fermentation chamber to the kegerator with 2 dryer hoses and circulate the air with standard 12V DC computer fans. I figured the pipes would be long enough that as long as the fans were not on it would have next to zero transfer of temperature.
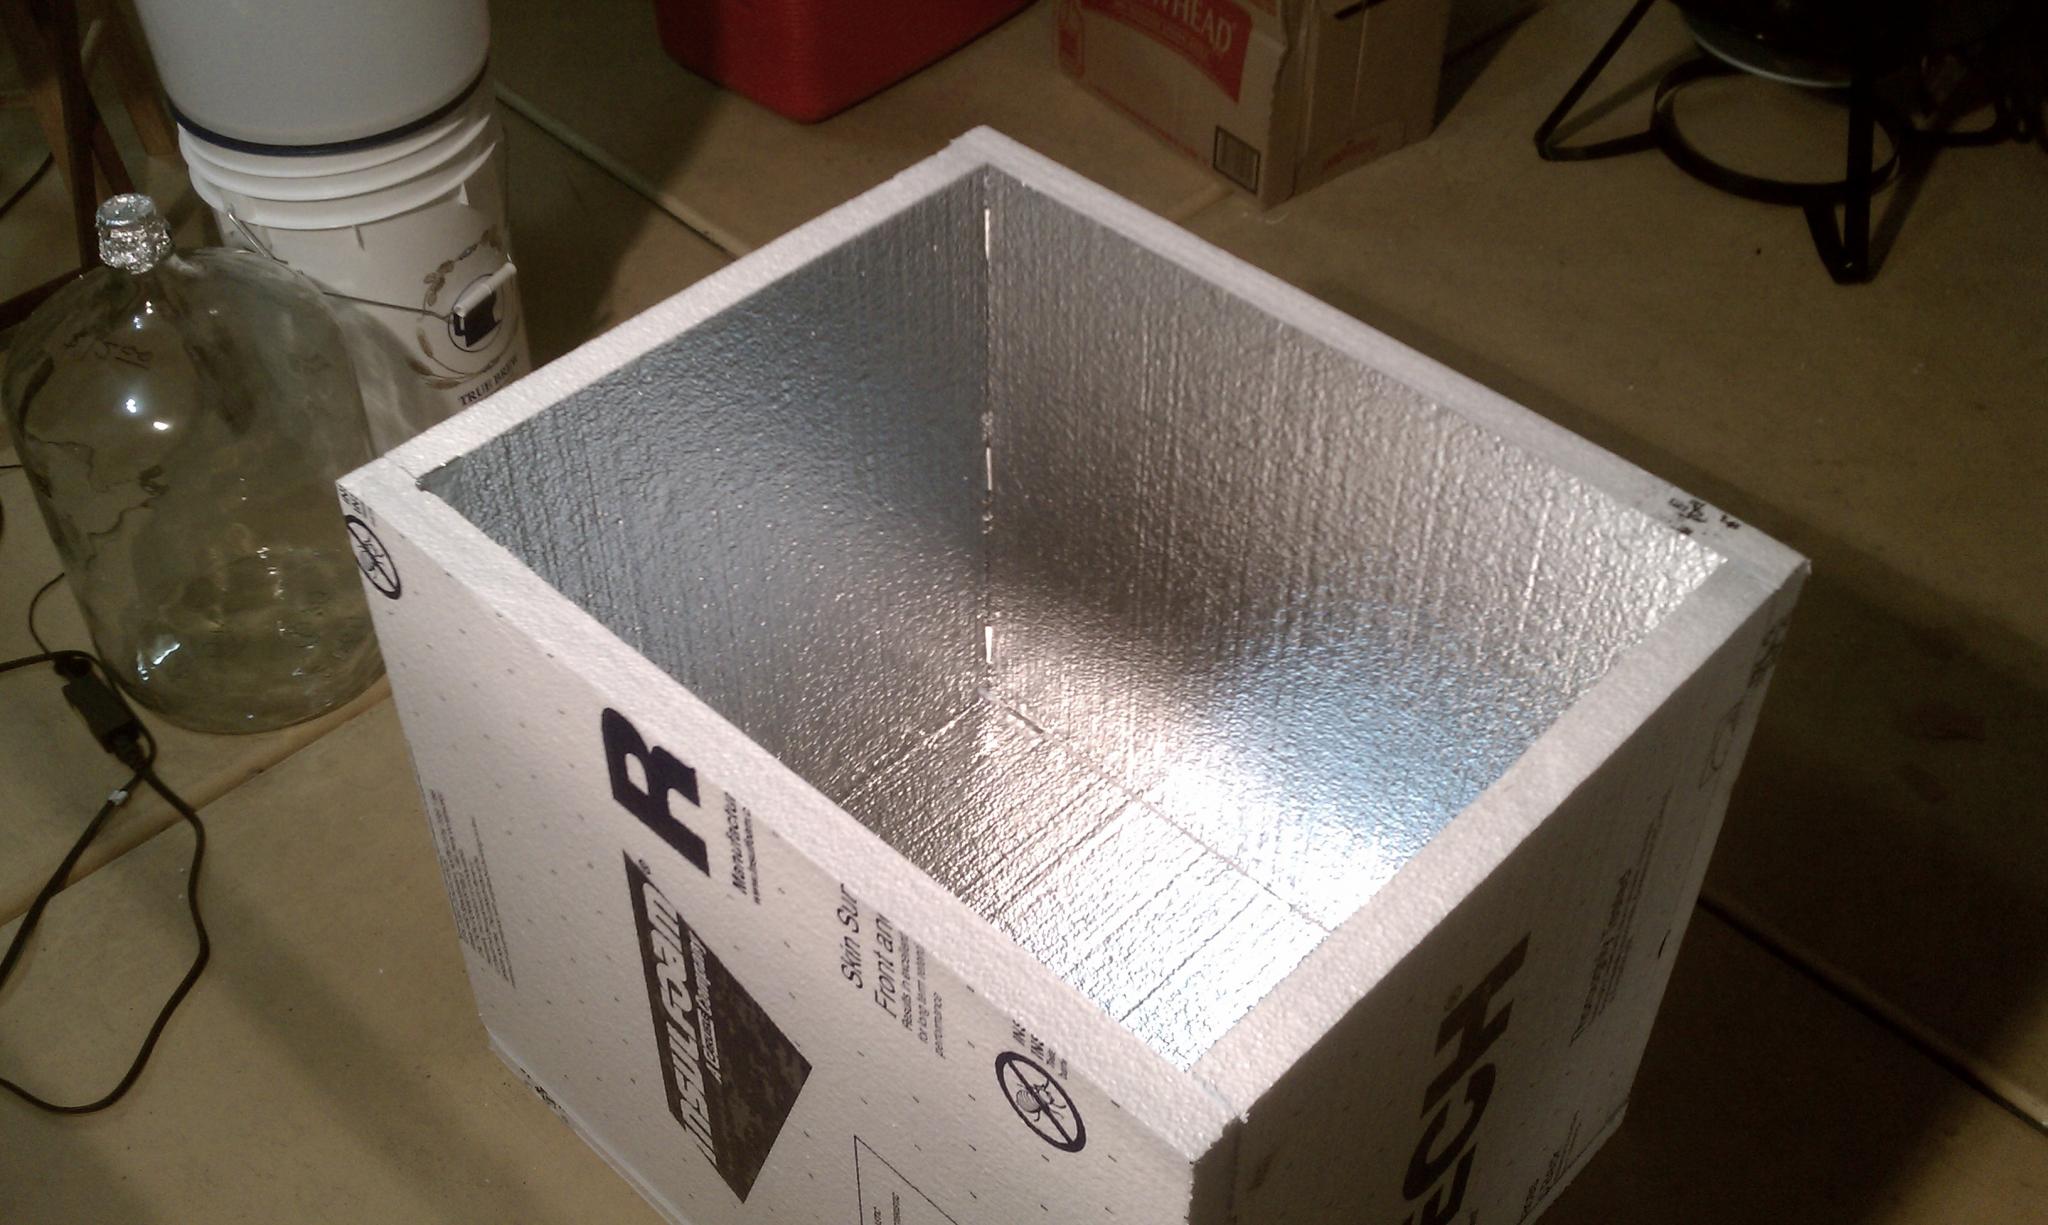
I went to Home Depot and got some of the foam insulation and built a box. It's air tight with aluminum tape on all of the corners. The styrofoam is glued together with the special glue for this purpose. Don't try to use a glue that isn't made for use with styrofoam.
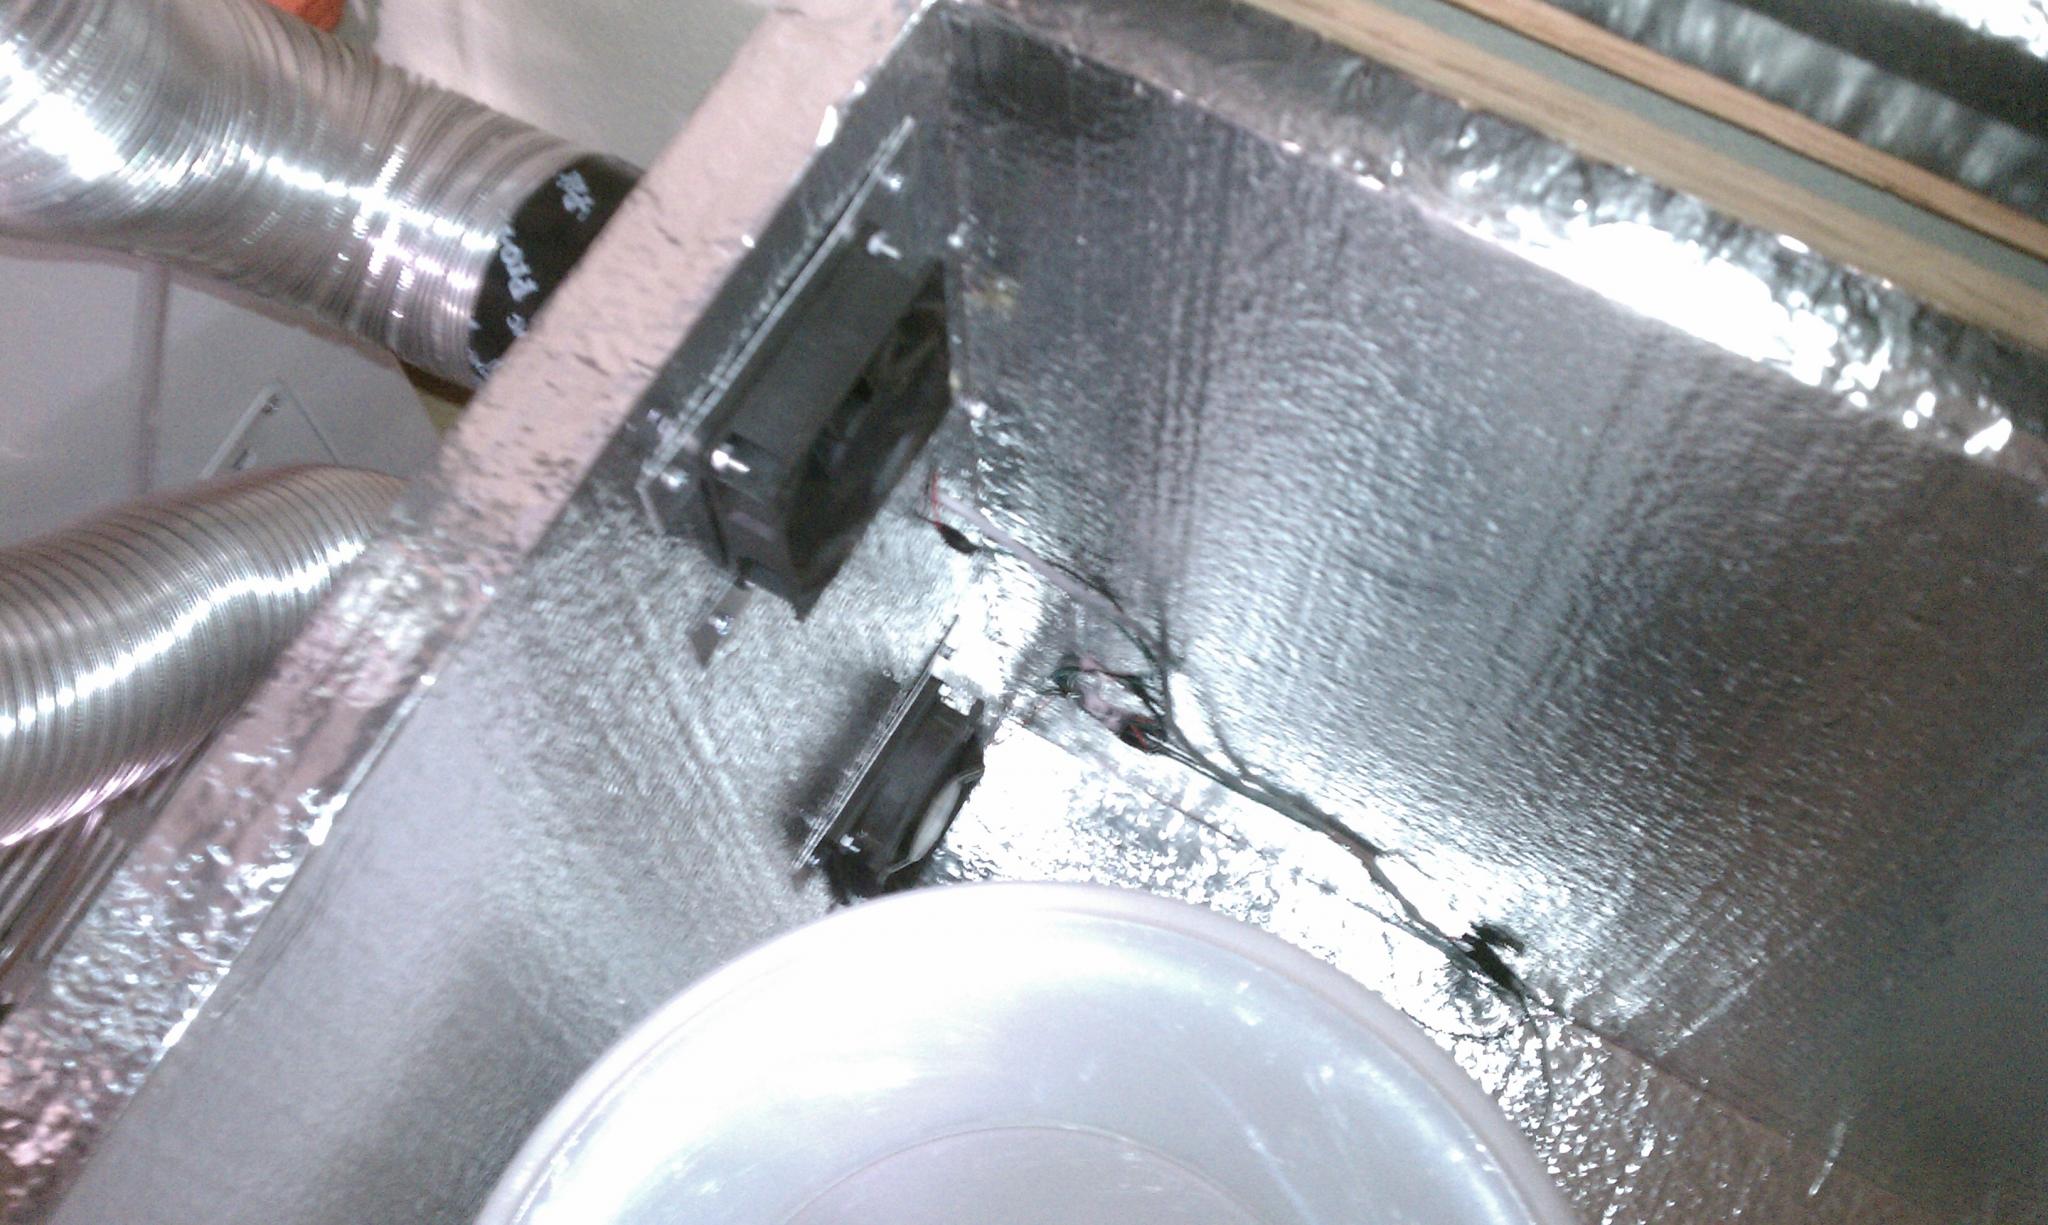
There are two fans, one for intake and one for exhaust. They both turn on at the same time. When they turn on, it just starts circulating cold air out of the kegerator and warmer air into the kegerator. I keep the kegerator at around 32 degrees and most fermentation temperatures are in the low 60's so there enough of a difference for this to work very well.
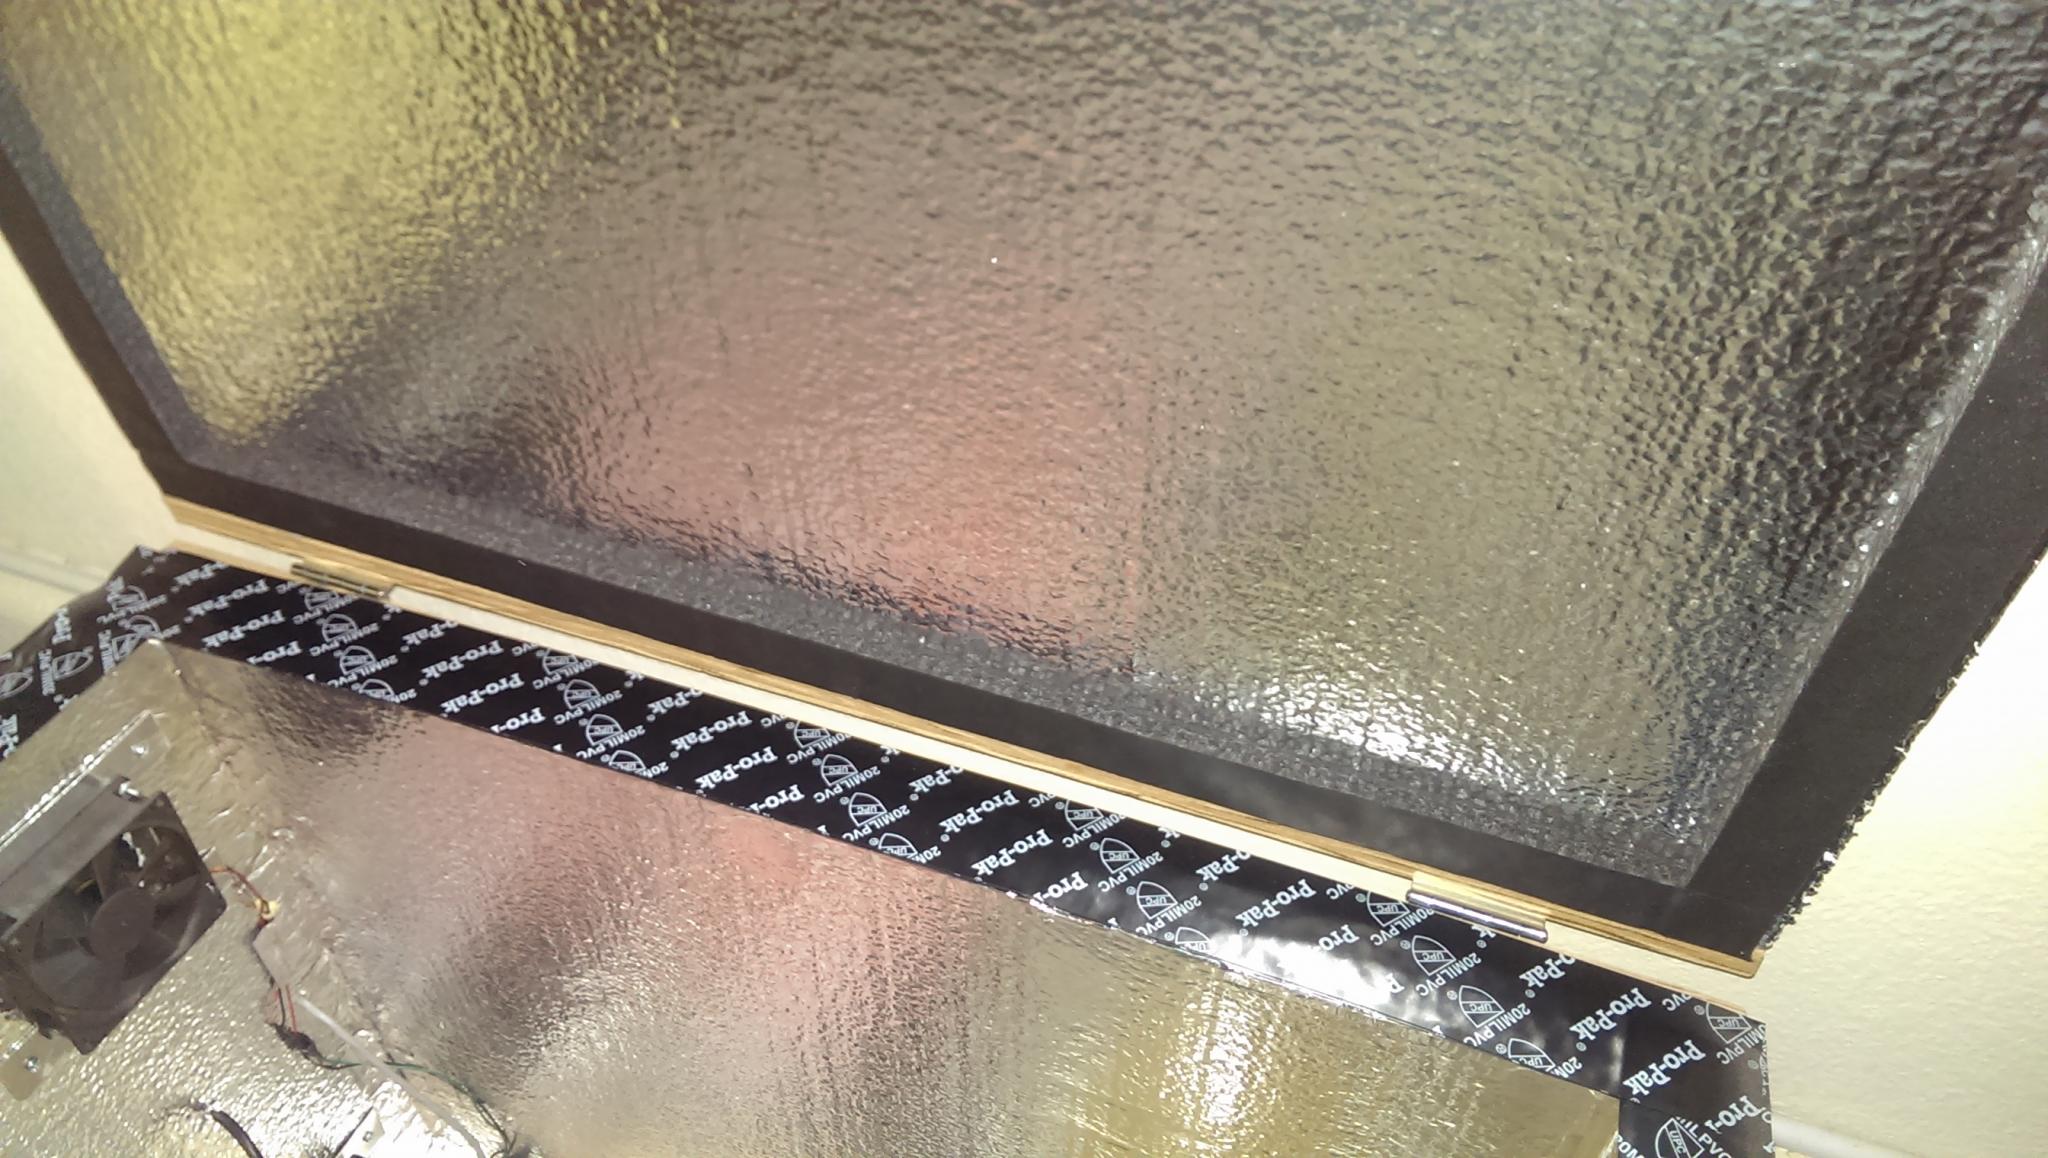
The top is insulated and hinged to the bottom. The hinges are attached to slivers of wood which are screwed into dowels inserted and glued into the styrofoam.
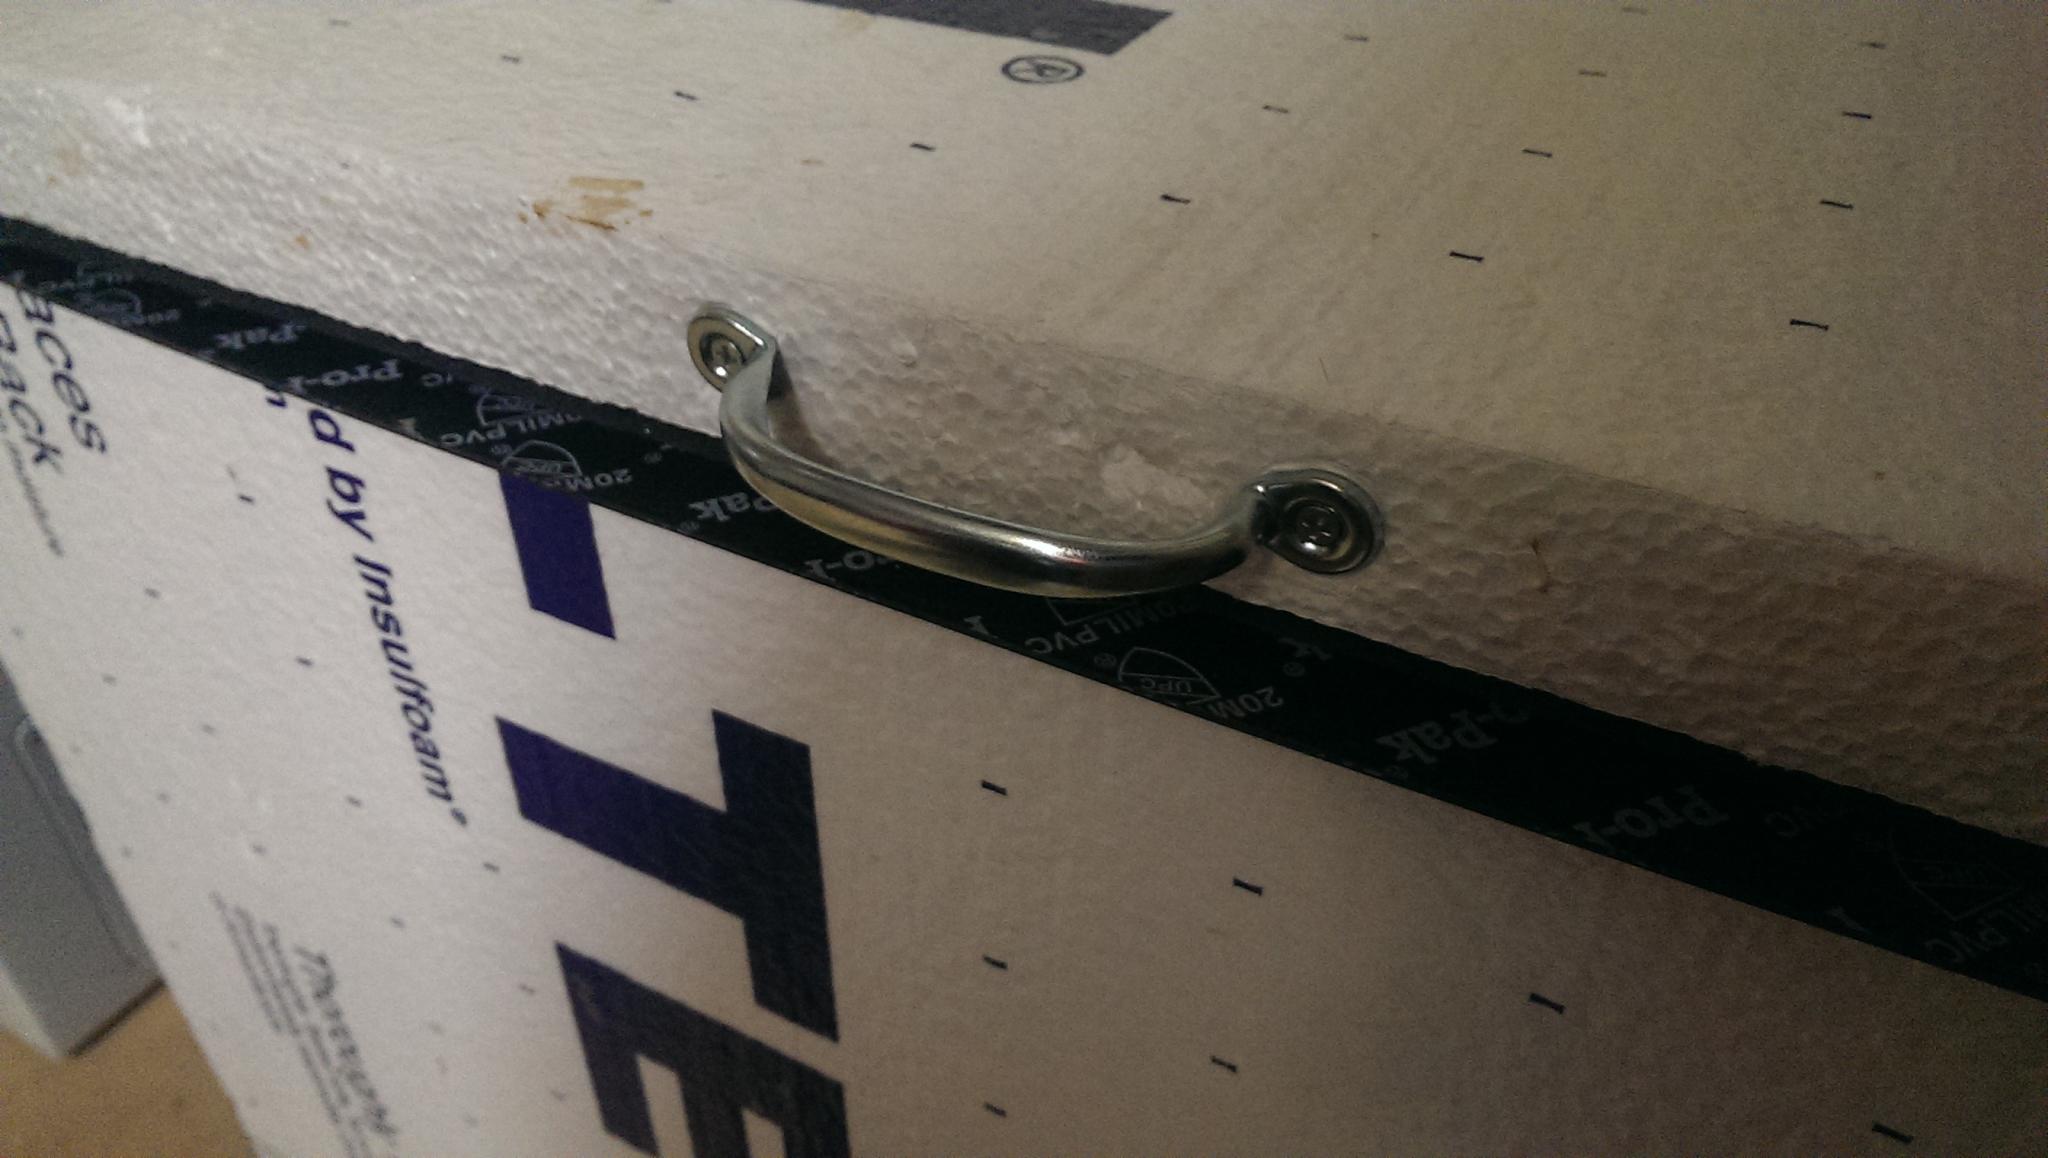
As a nice touch, a cheap handle is attached. It's screwed into wooden dowels about 8 inches long each that make it solid in the styrofoam.
I started adding on some insulation. The hoses are definitely cold to the touch when the fans are running.
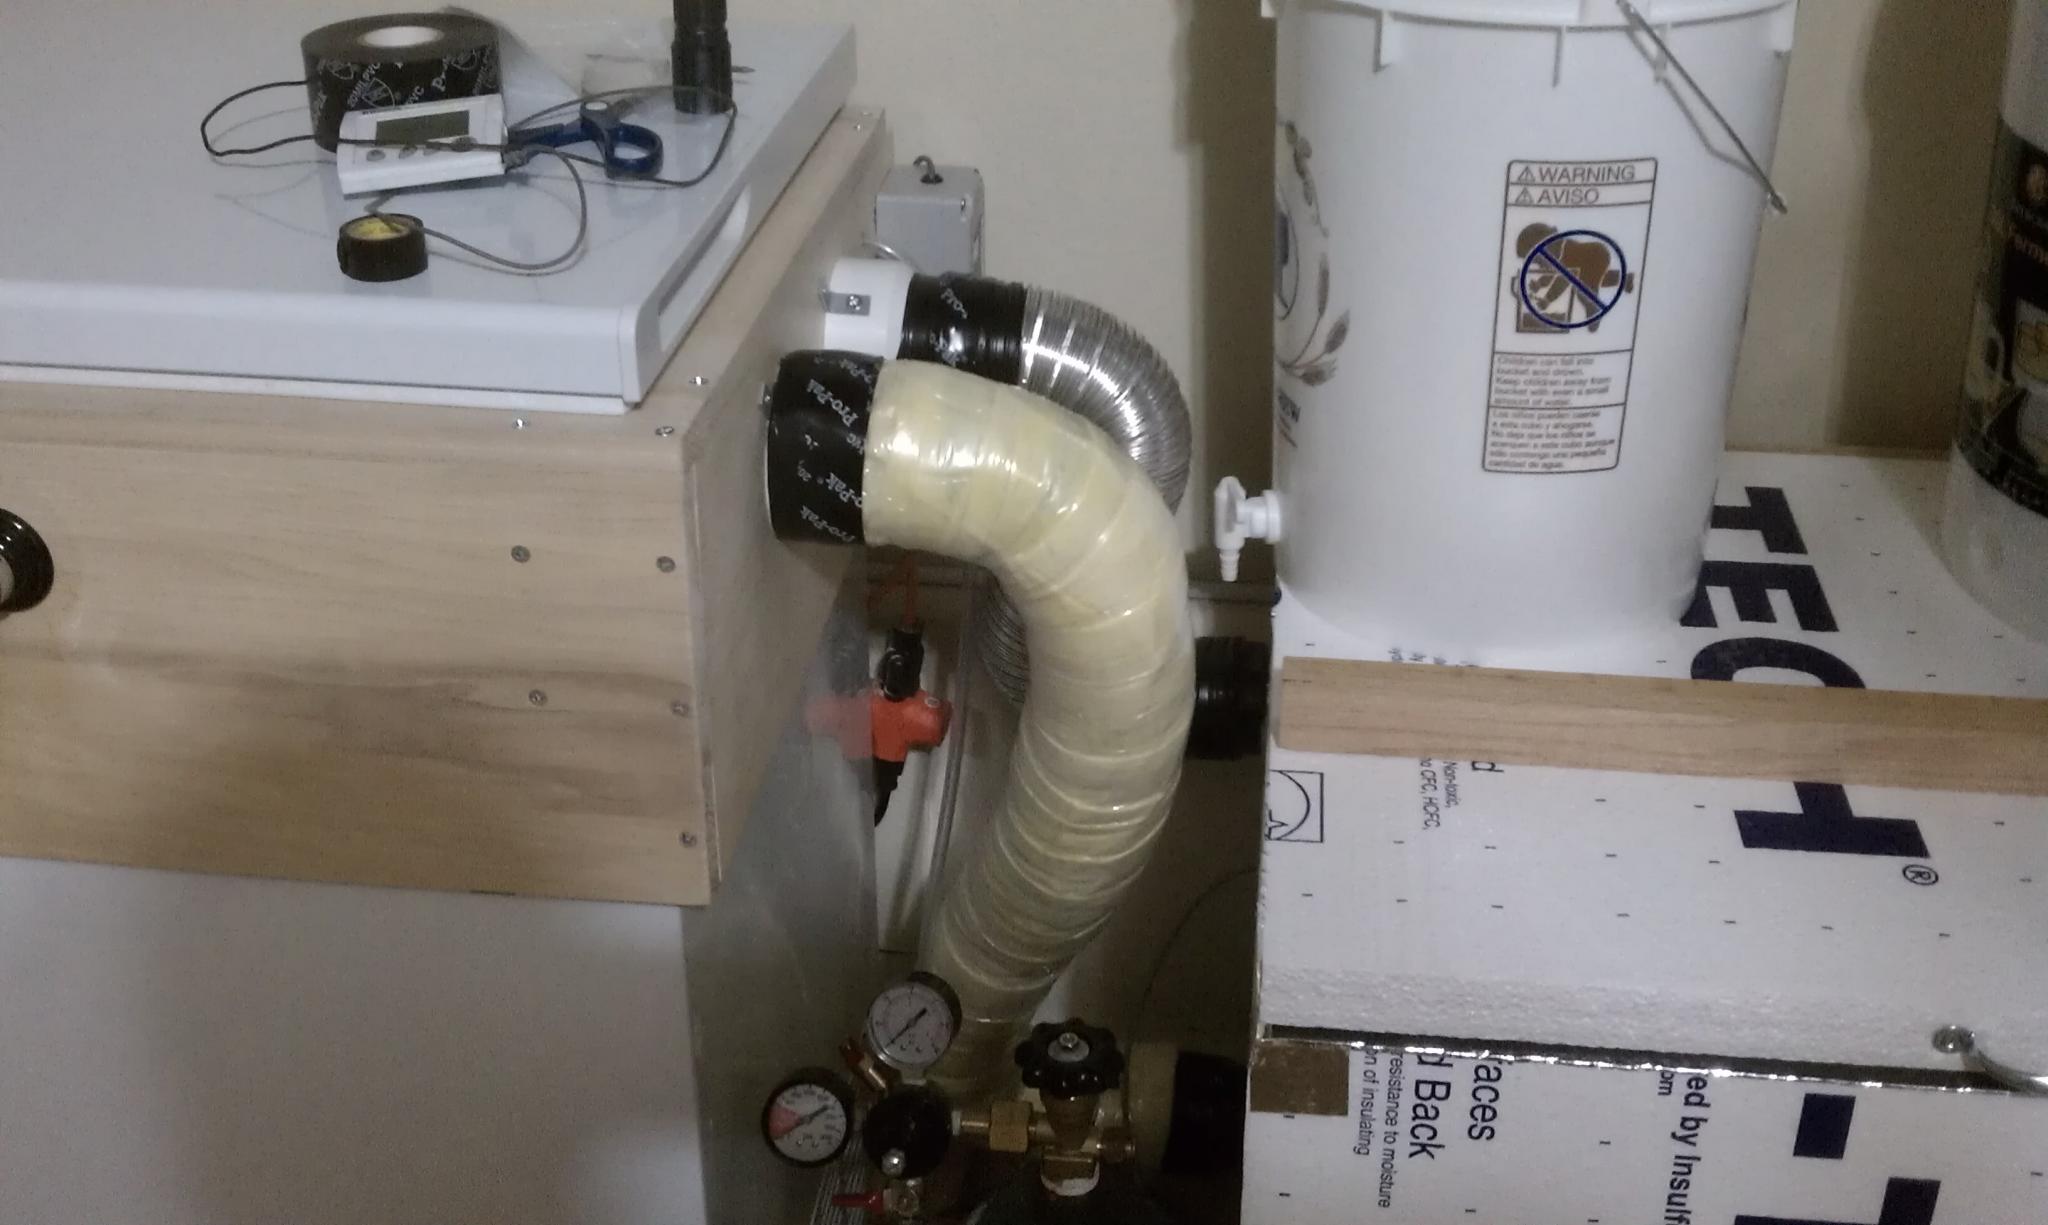
Fully insulated hose. Not cool to the touch at all.
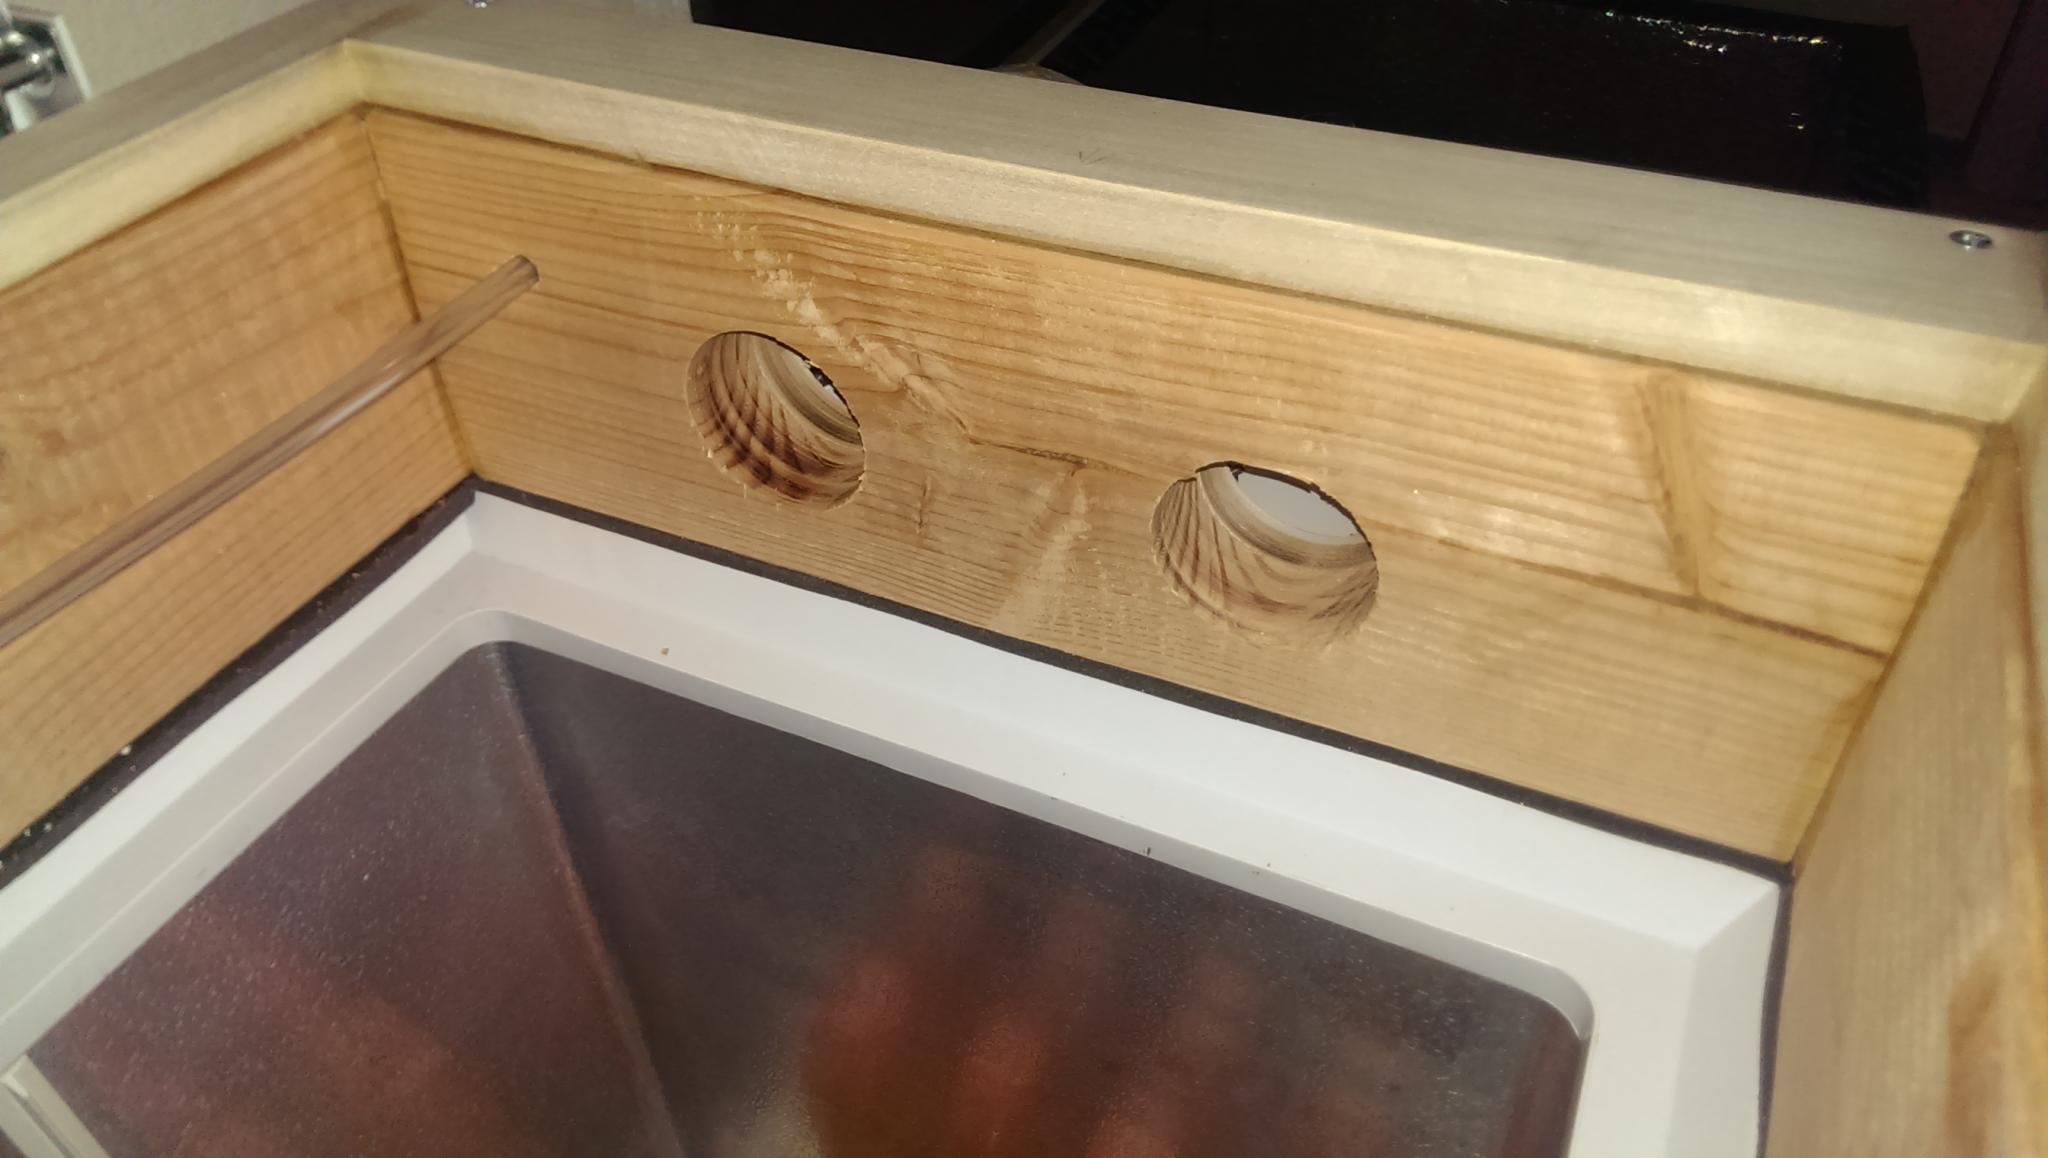
Drilled the intake and exhaust holes in the kegerator collar.
The actual thermostat is the cheapest house thermostat I could find. I wired up a 12V DC power supply to the fans with the fan switch on the thermostat to complete the circuit. When the fan on the thermostat turns on due to cooling, my real fans actually turn on. The rating for the switch on this thermostat is 1 AMP, and I'm well below drawing that with these fans.
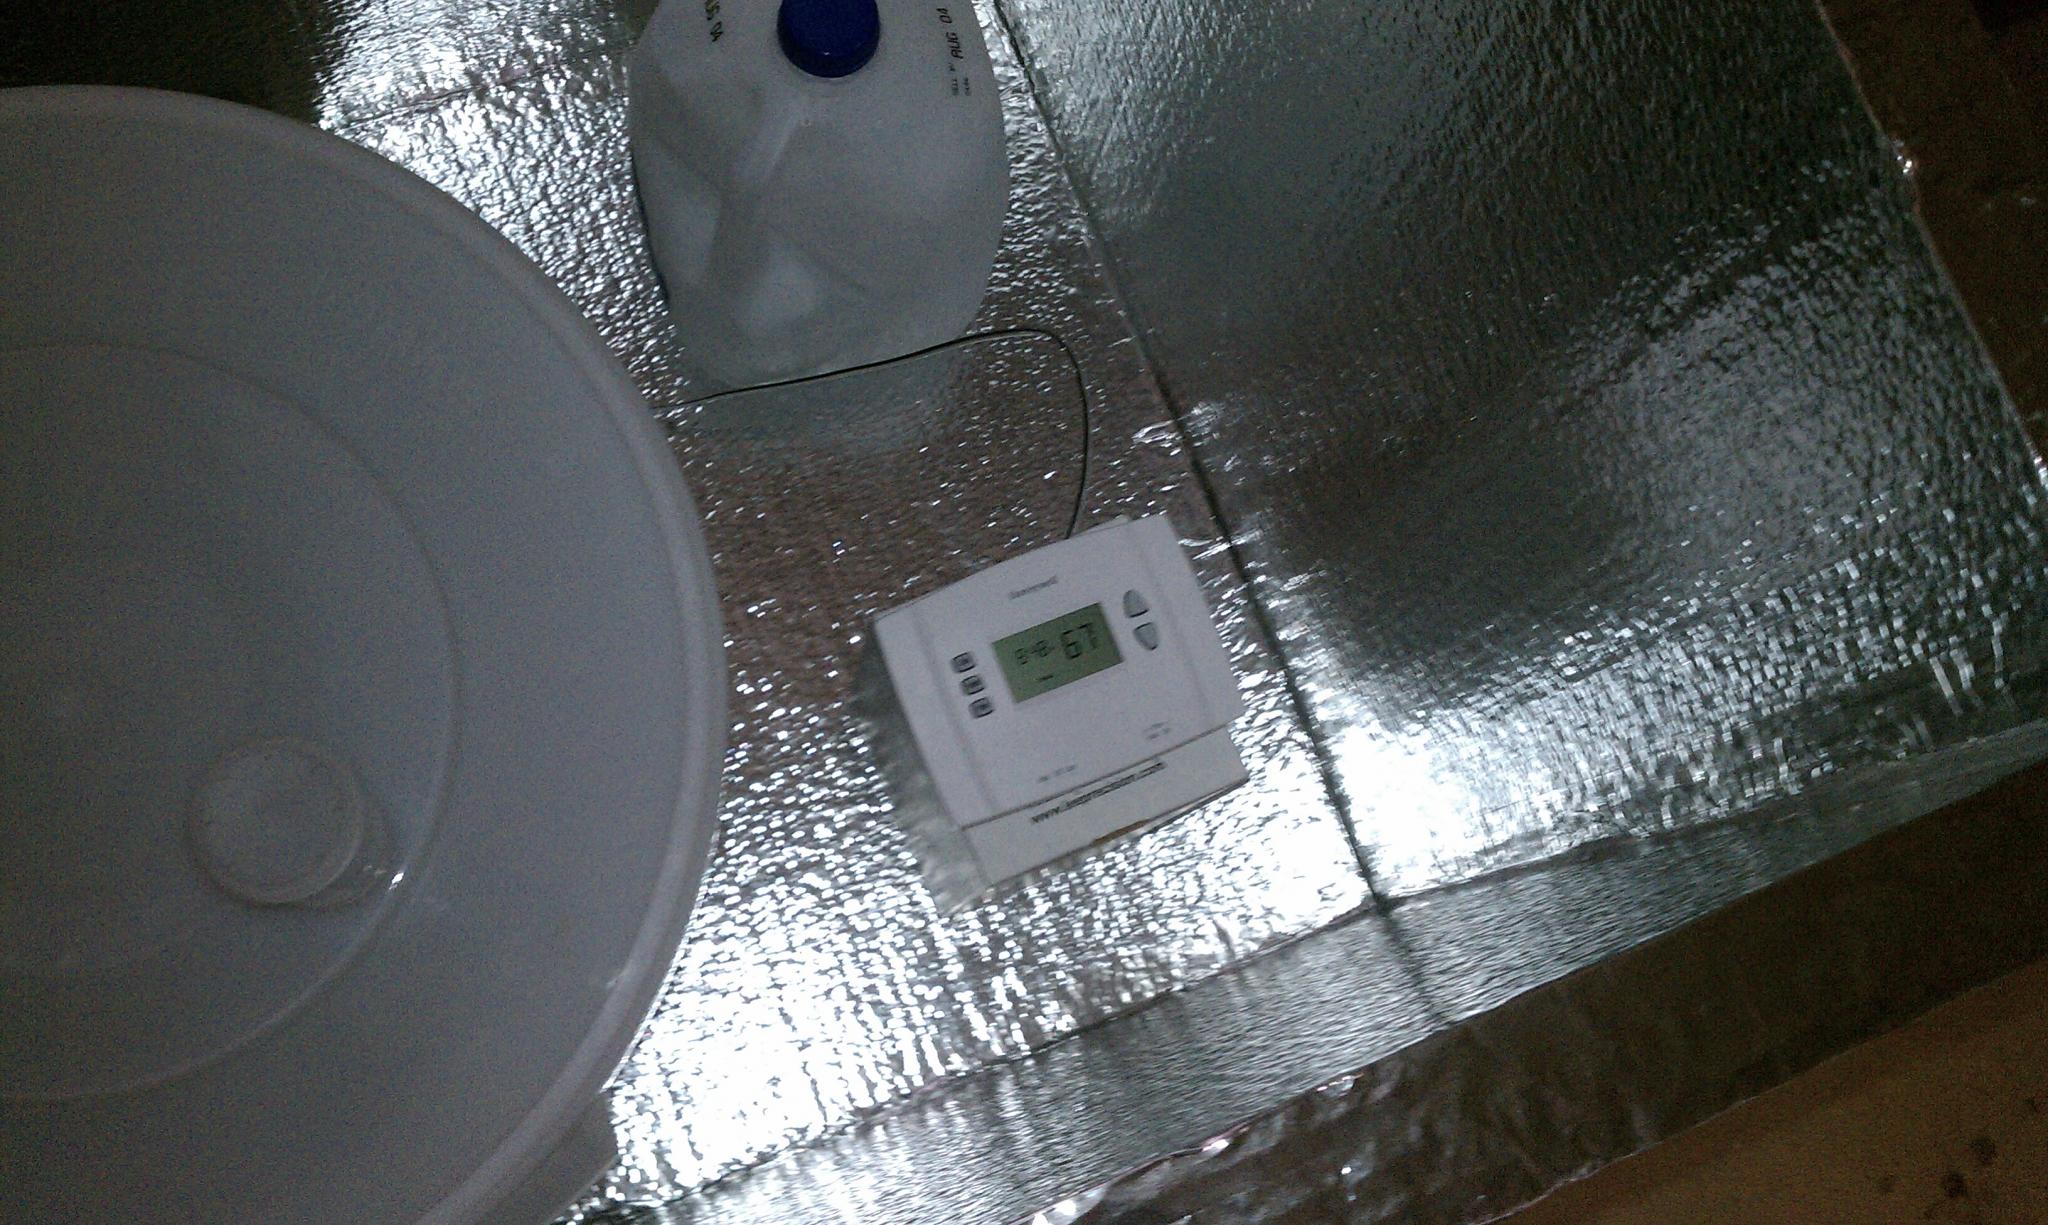
It turns out, a lot of my assumptions were correct. This works very well and I've been using this for almost a year. The fans don't actually need to run that long to adjust the temperature according to the thermostat. It is worth noting that due to my kegerator thermostat setup being sensitive to ambient air temperate (the probe is just suspended in air with a fan in the kegerator itself), it usually turns on the compressor shortly after the fans kick on and start circulating warm air in.
If I look into changing anything I would reduce the sensitivity of the kegerator thermostat and use a better thermostat for the fermentation chamber so that I can better monitor what the actual temperatures are. Also, it would be nice to be able to see the temperature from the outside without opening the chamber. Removing and extending the probe on the thermostat looks like a lost cause, but may be possible.

4 Comments